My Store
Direct To Film Transfers
Direct To Film Transfers
Couldn't load pickup availability
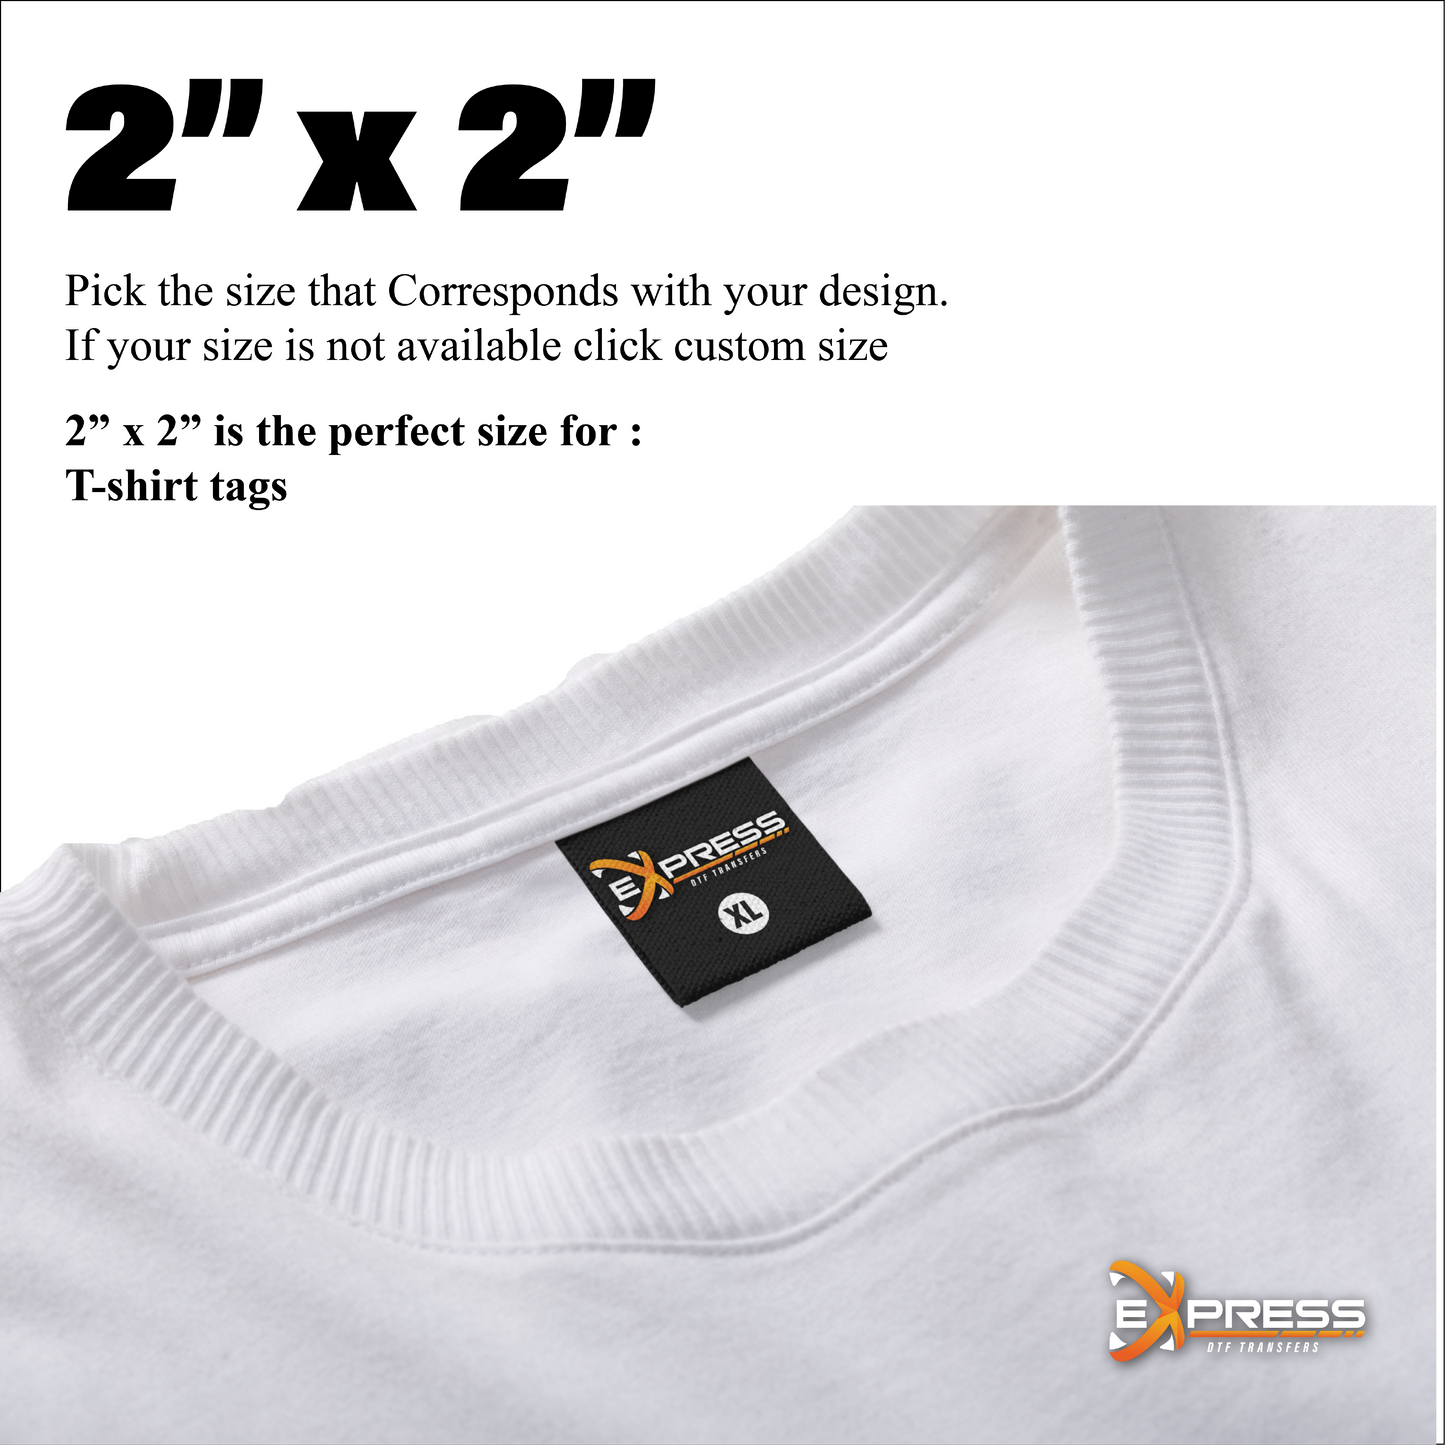
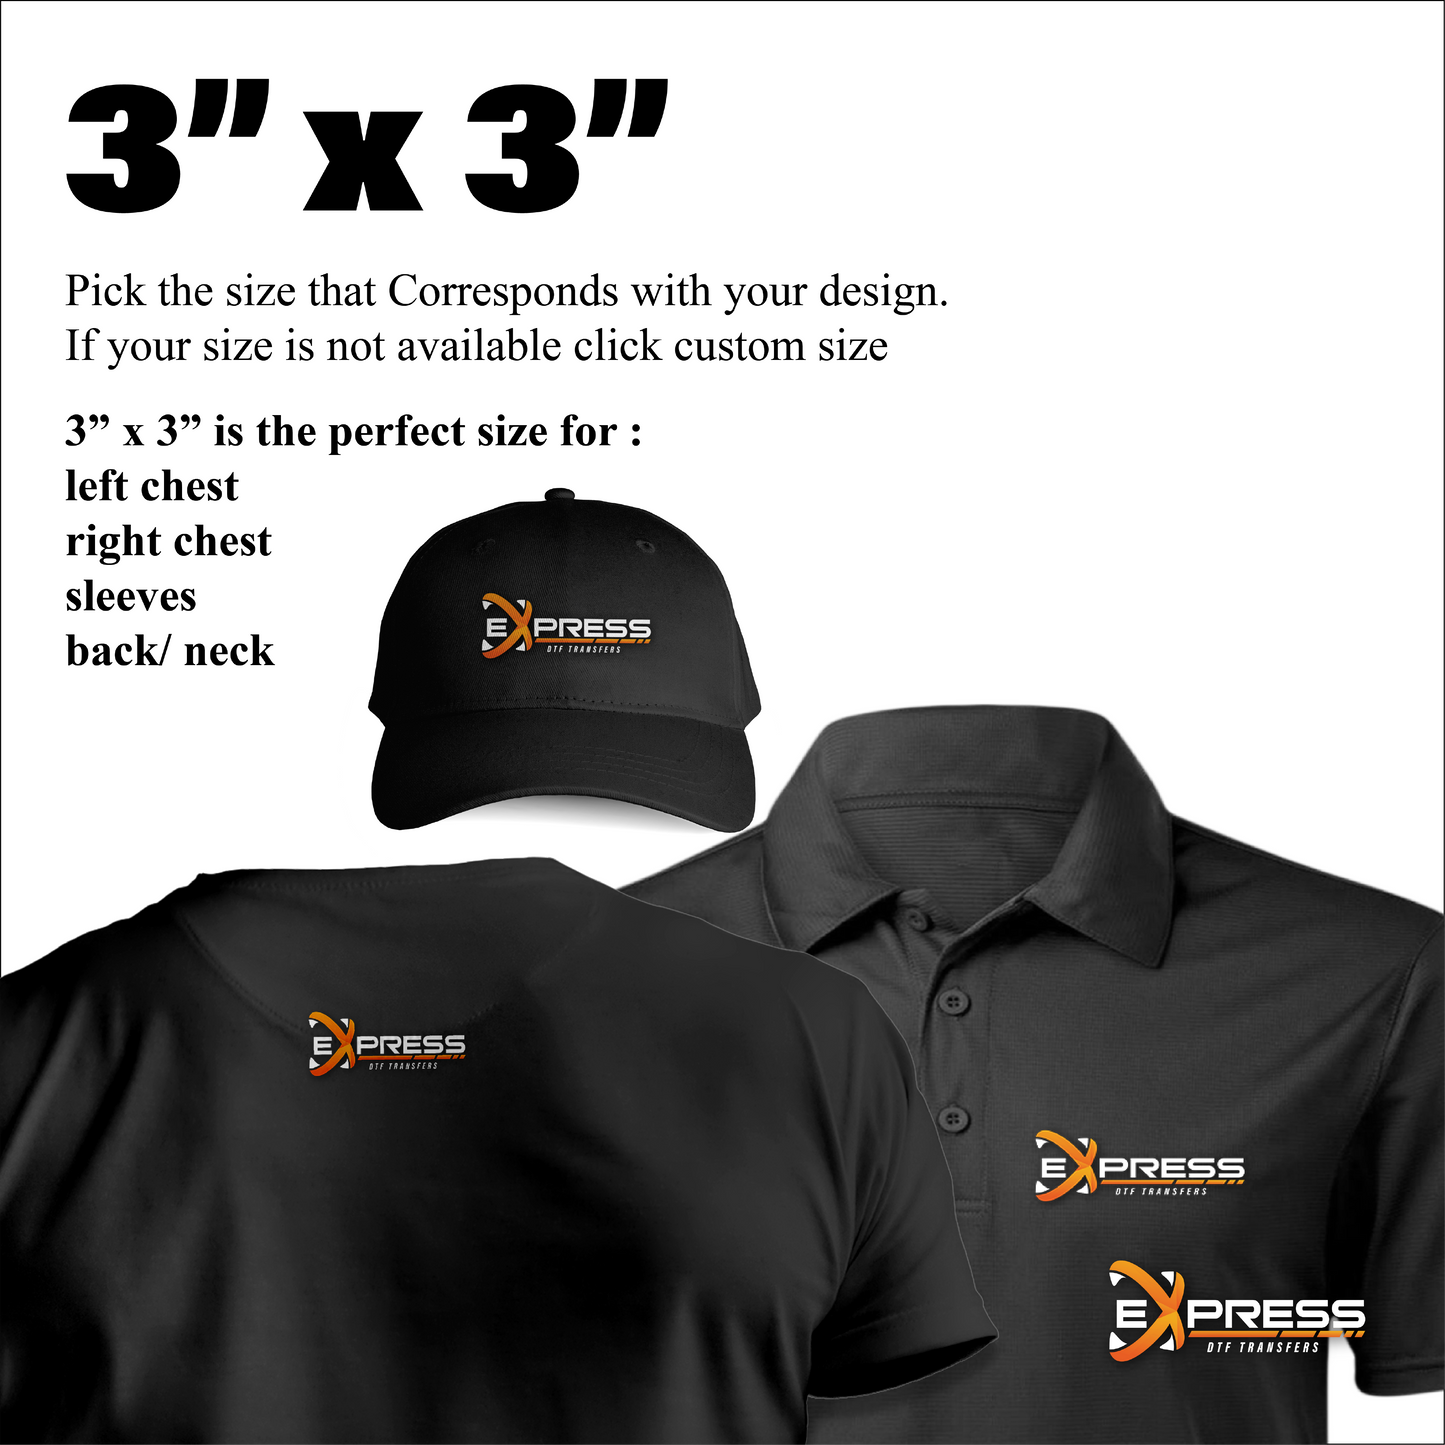
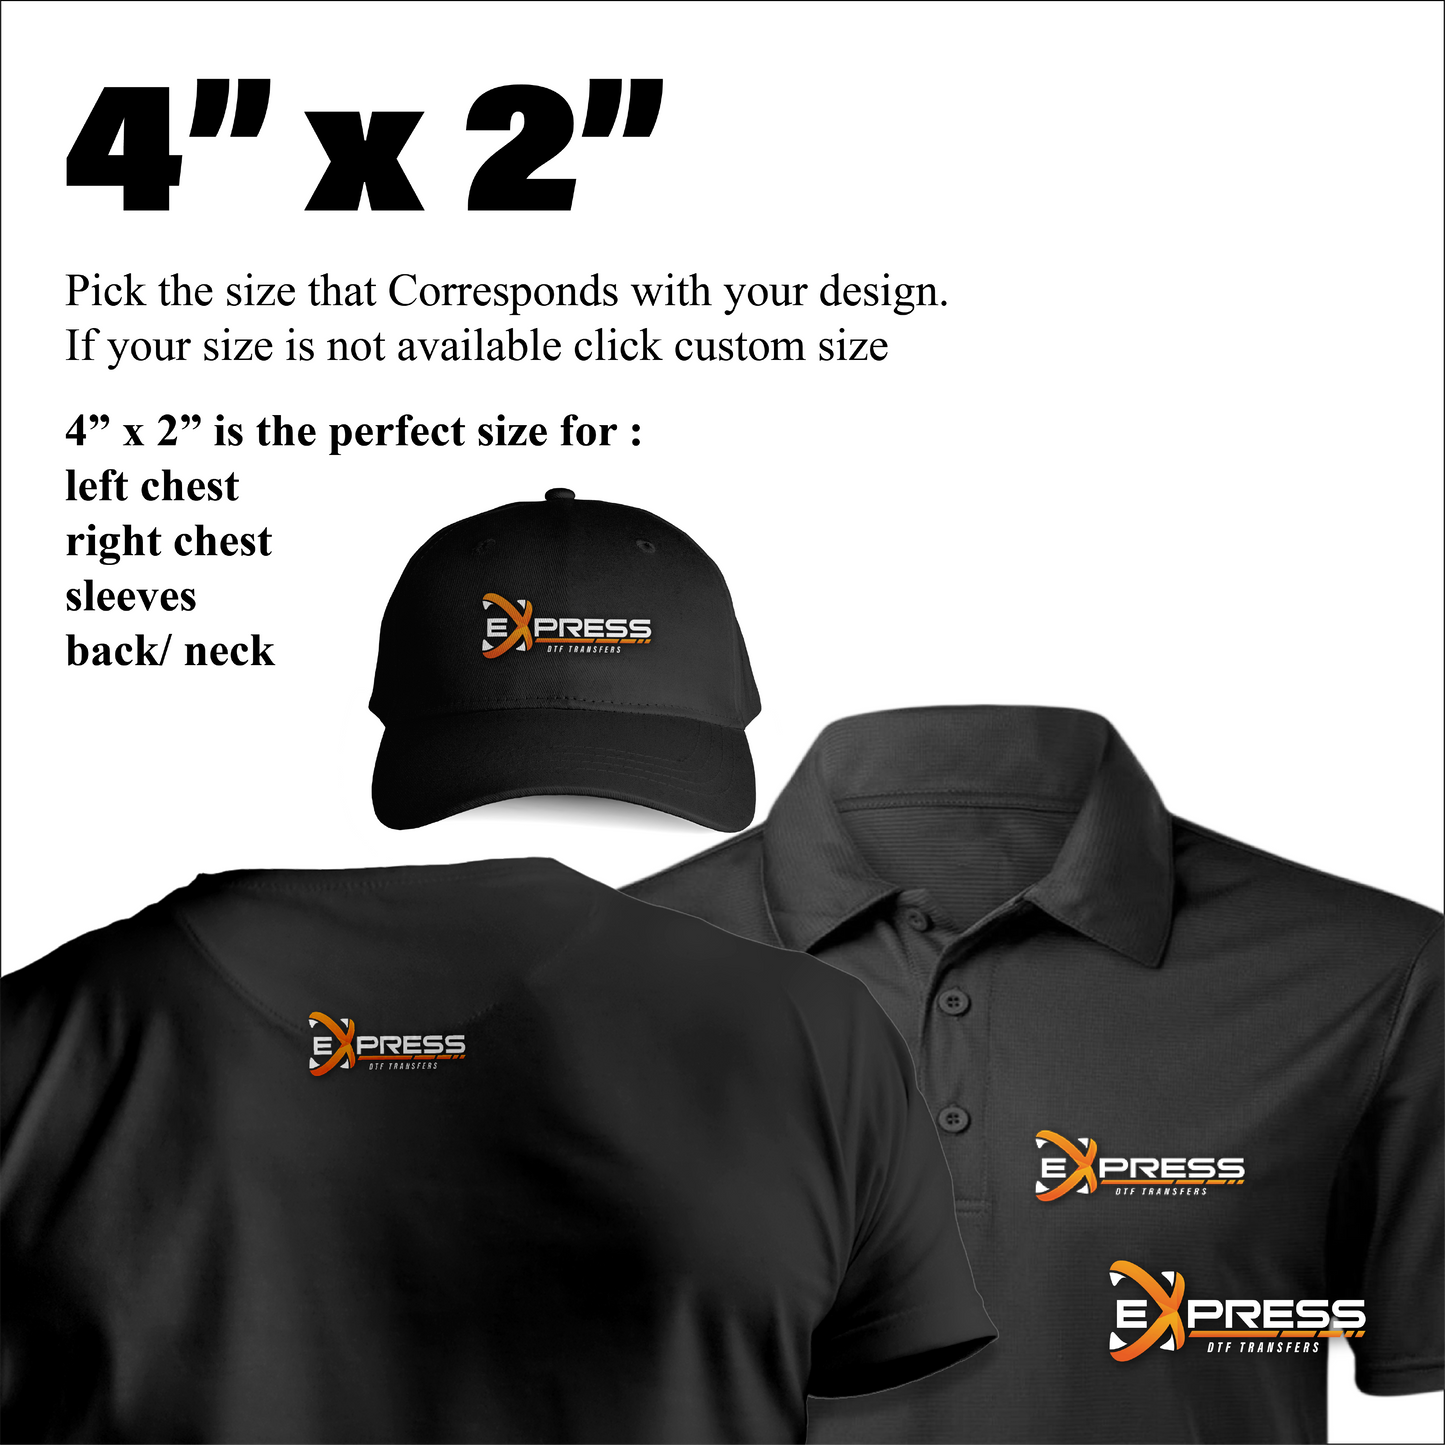
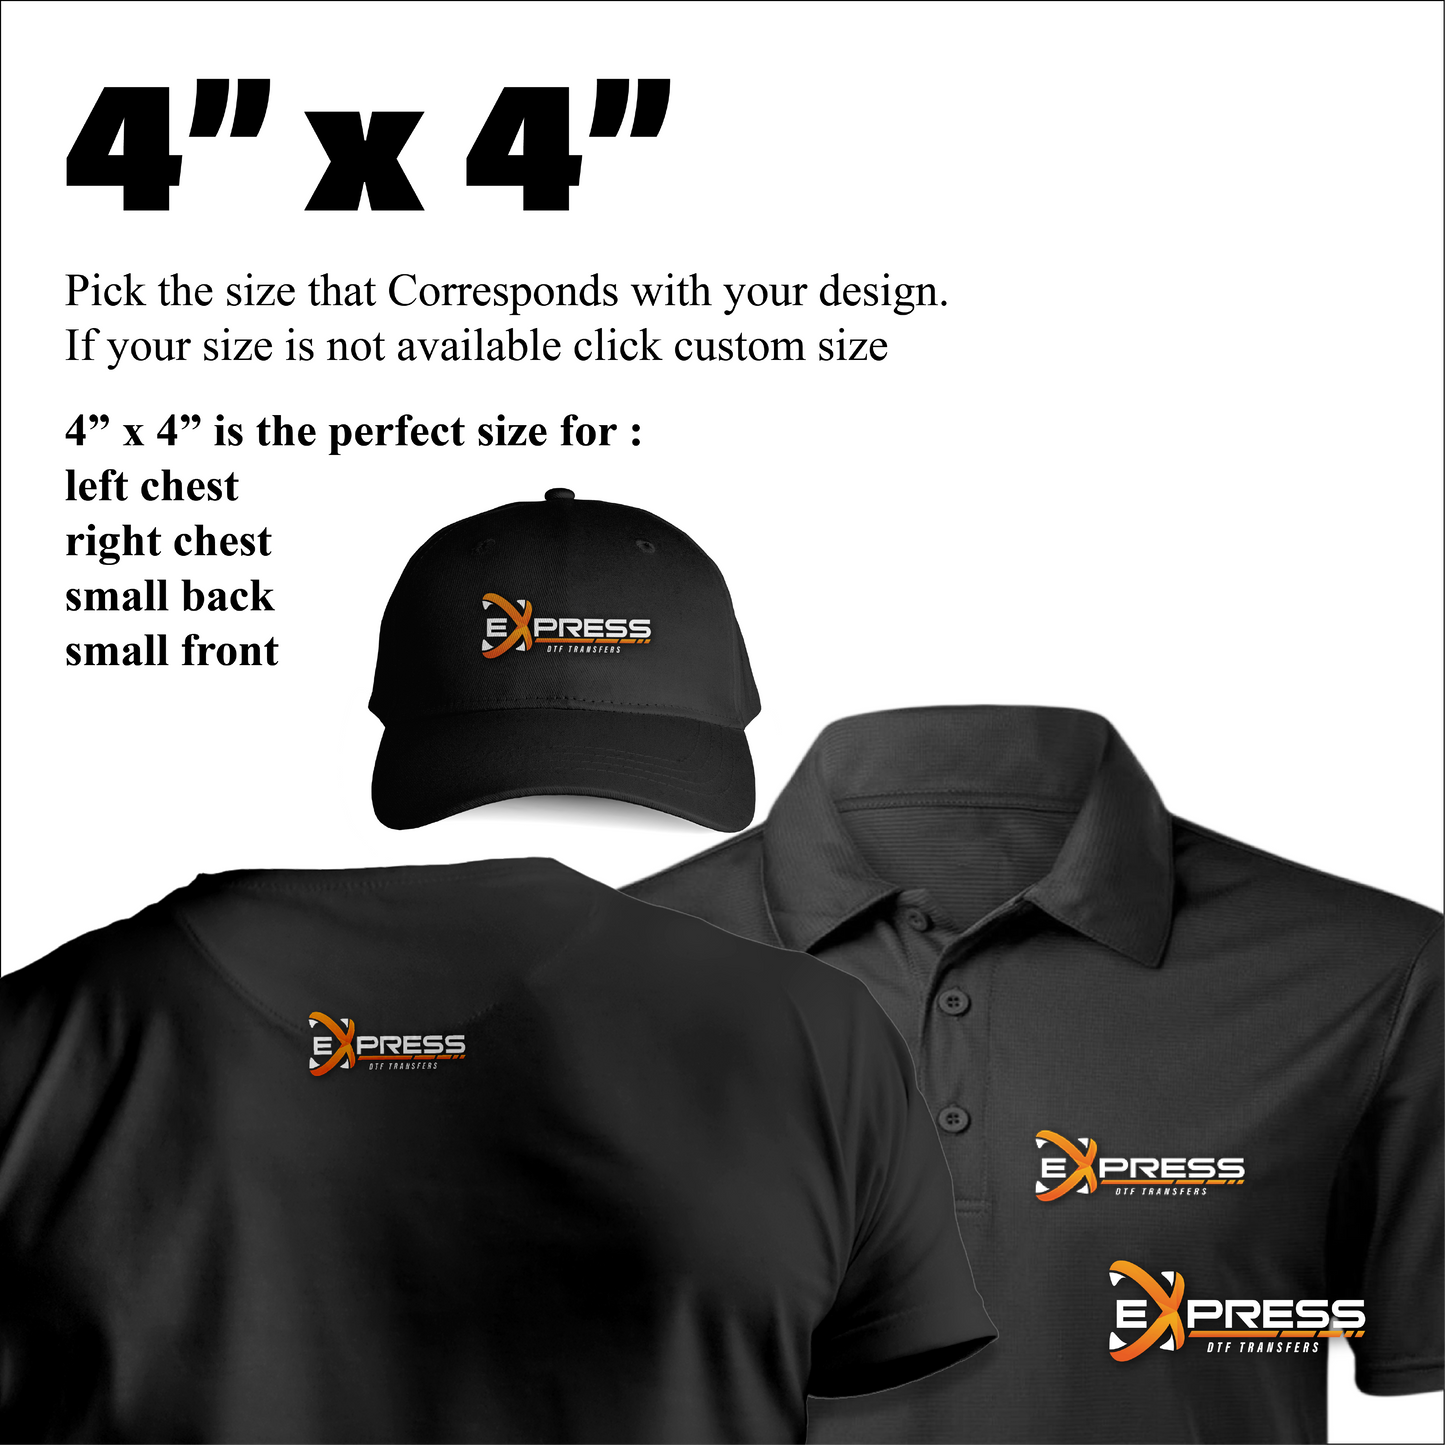
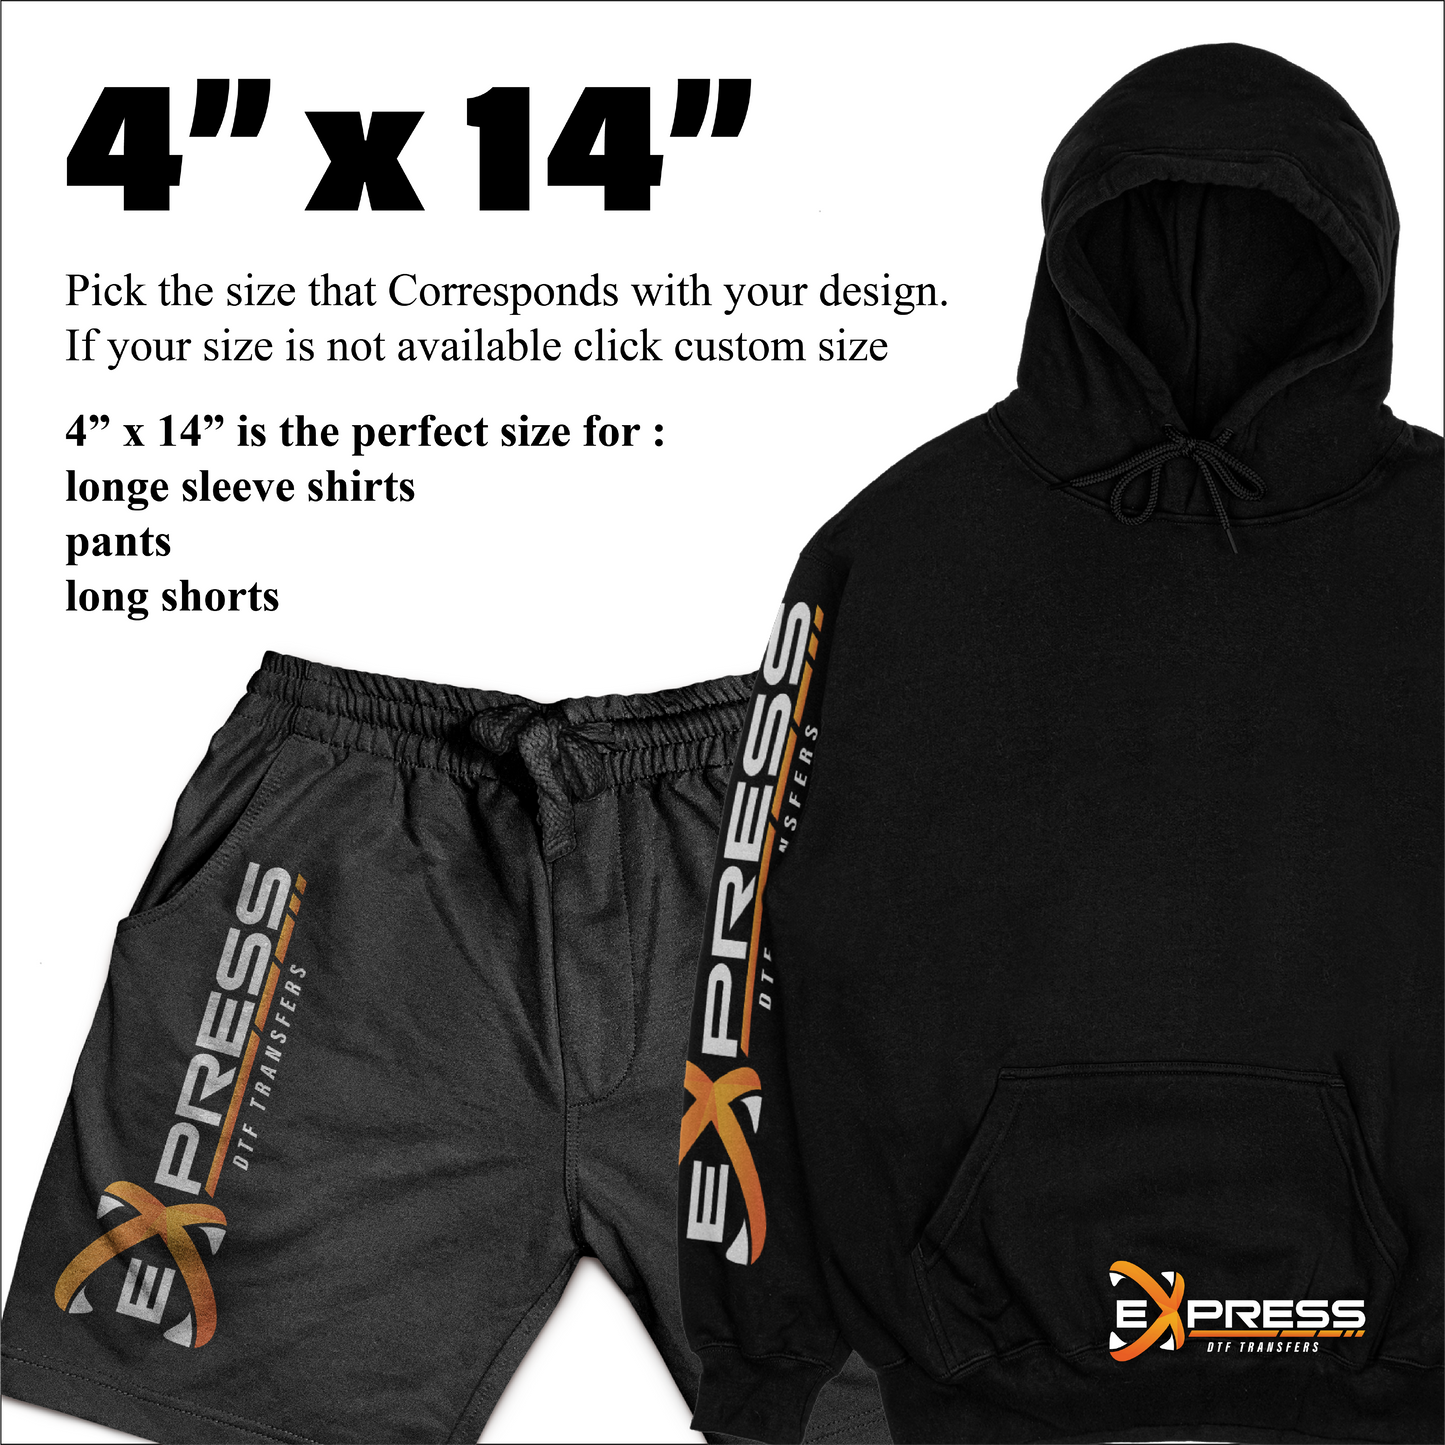
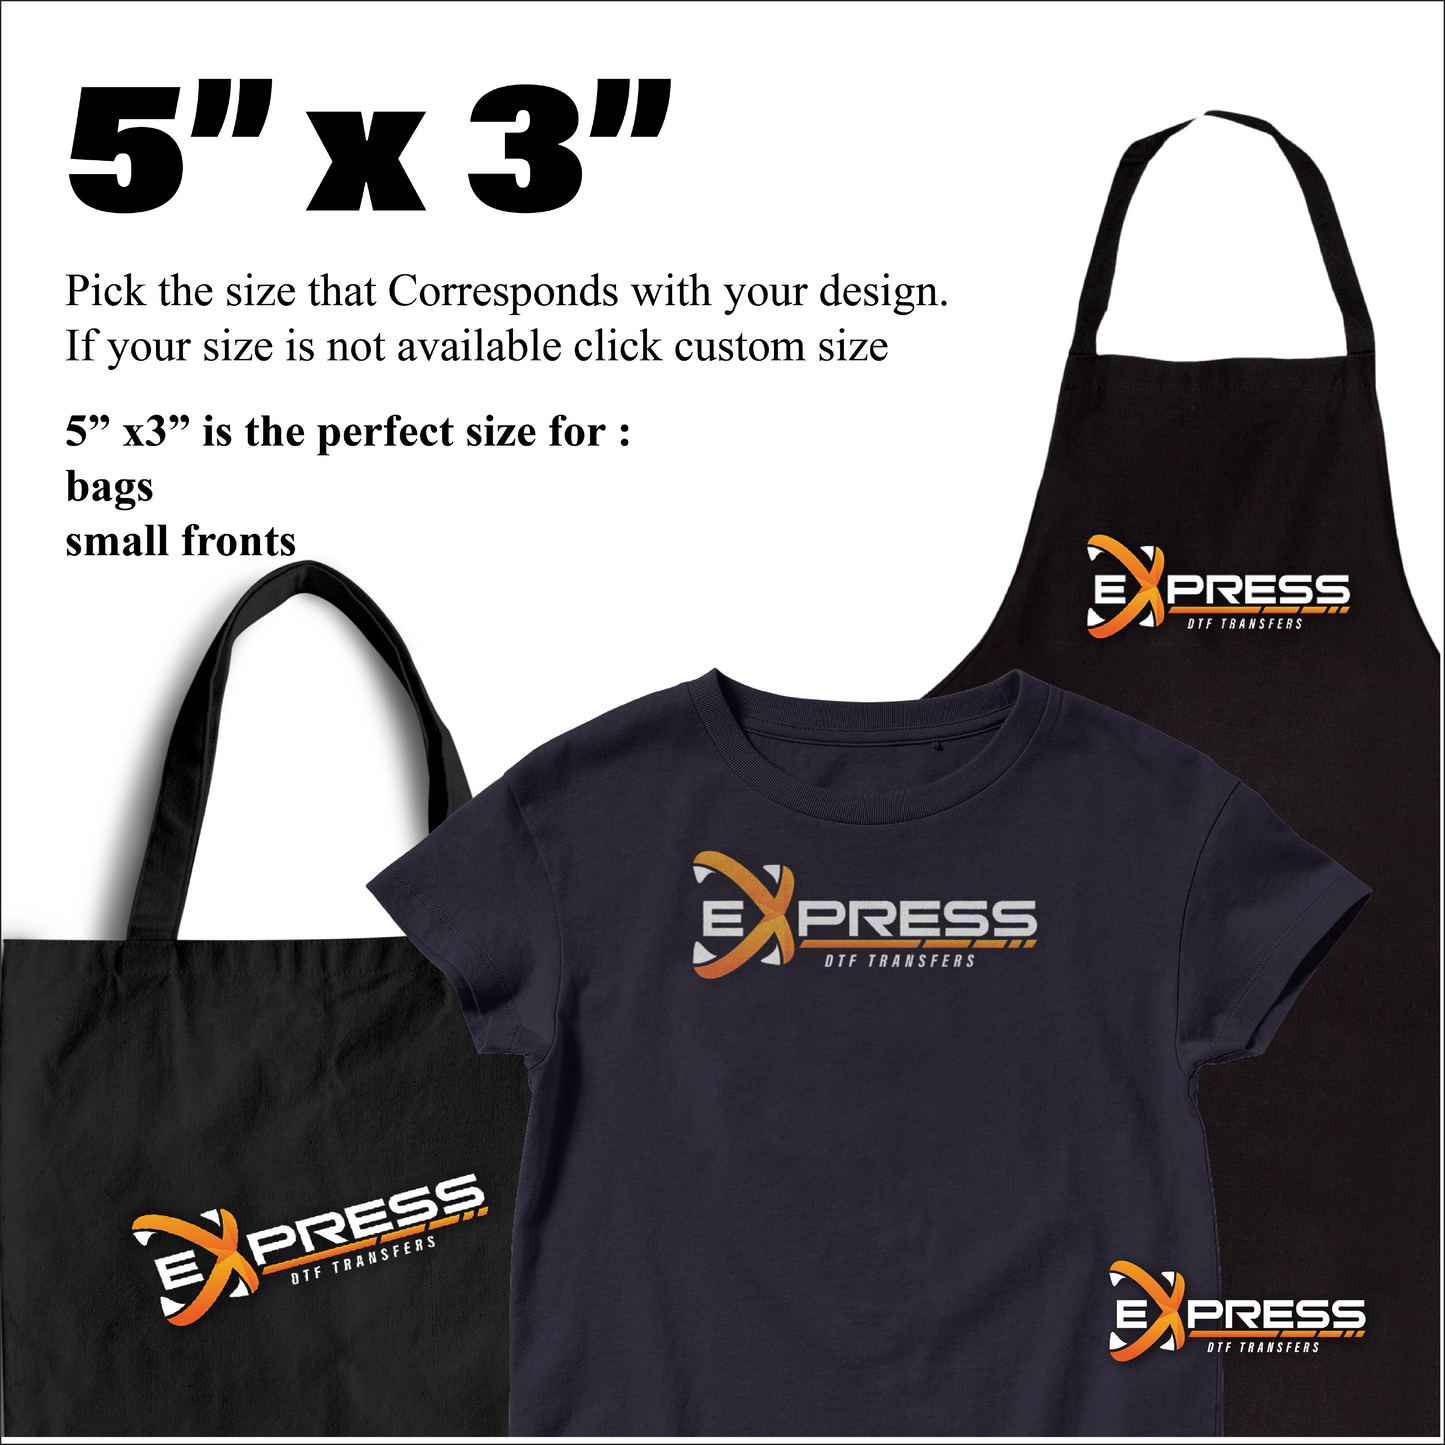
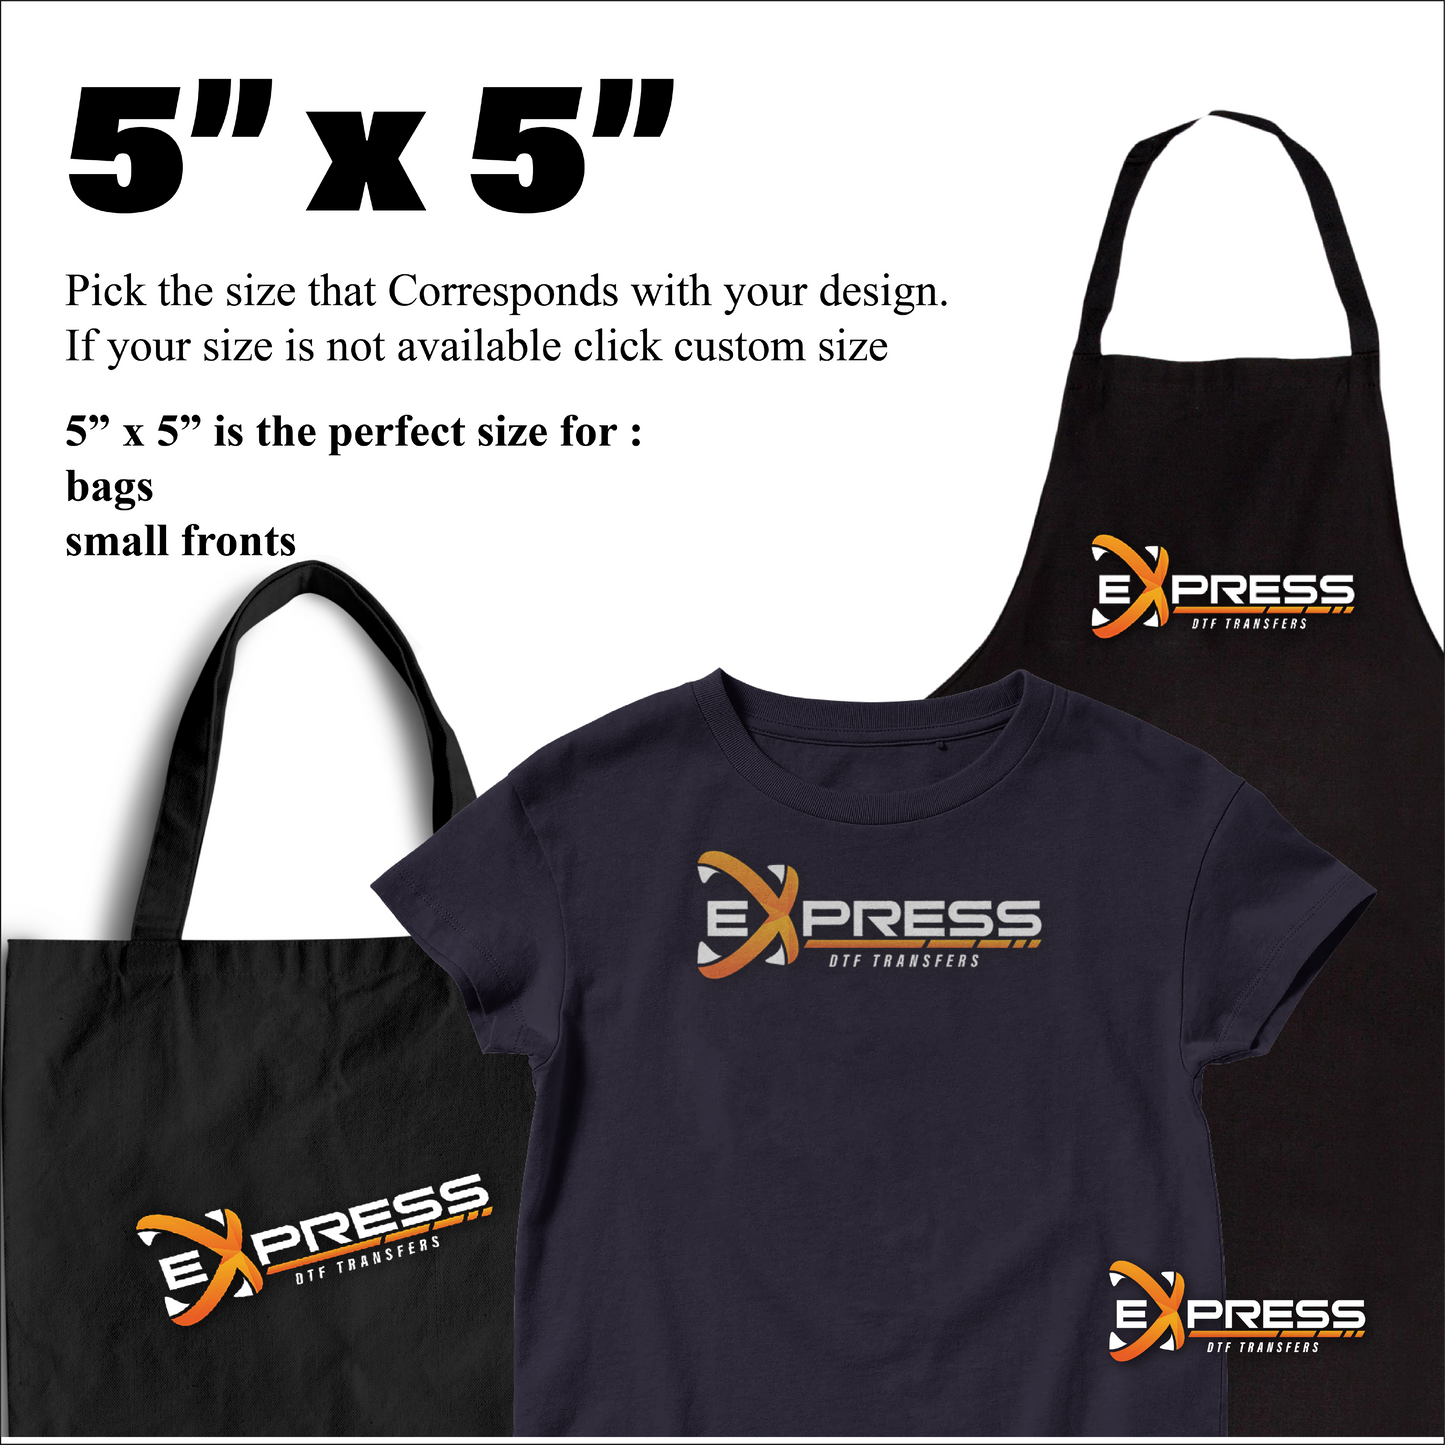
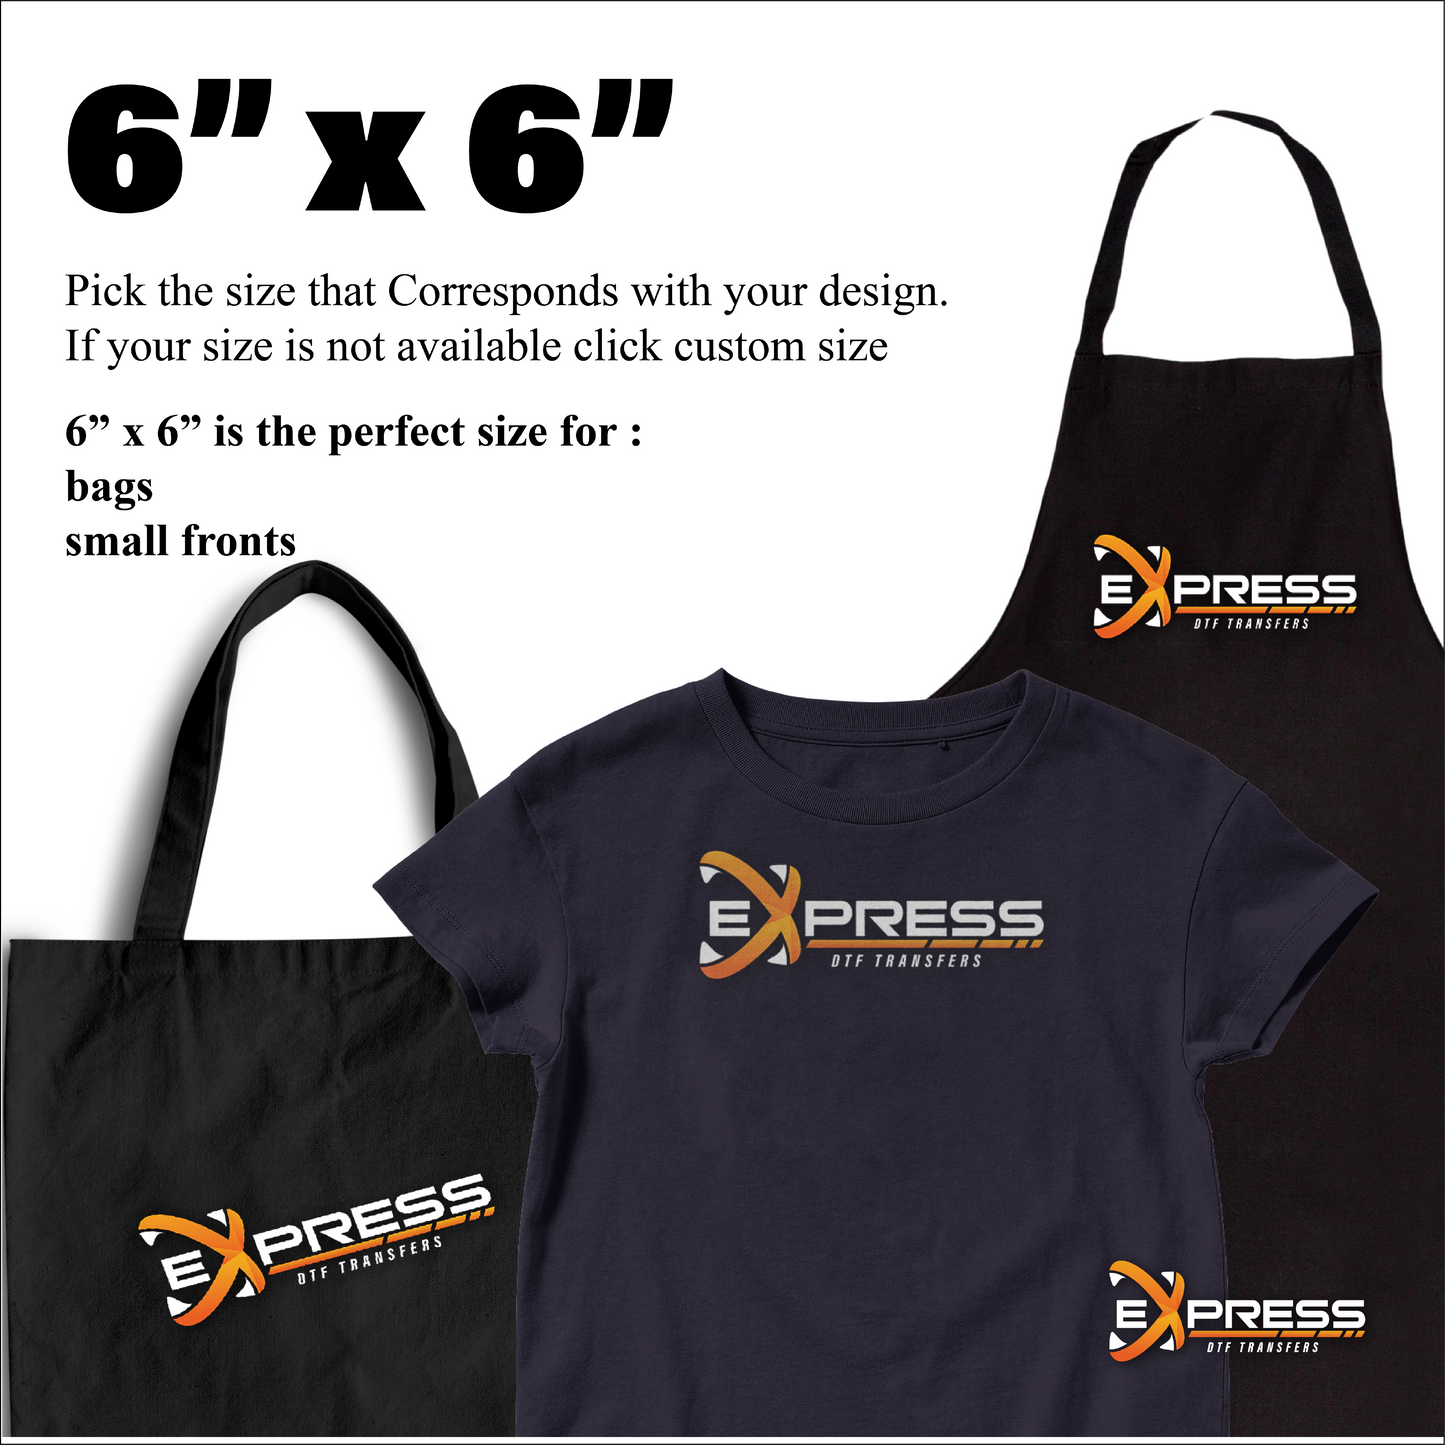
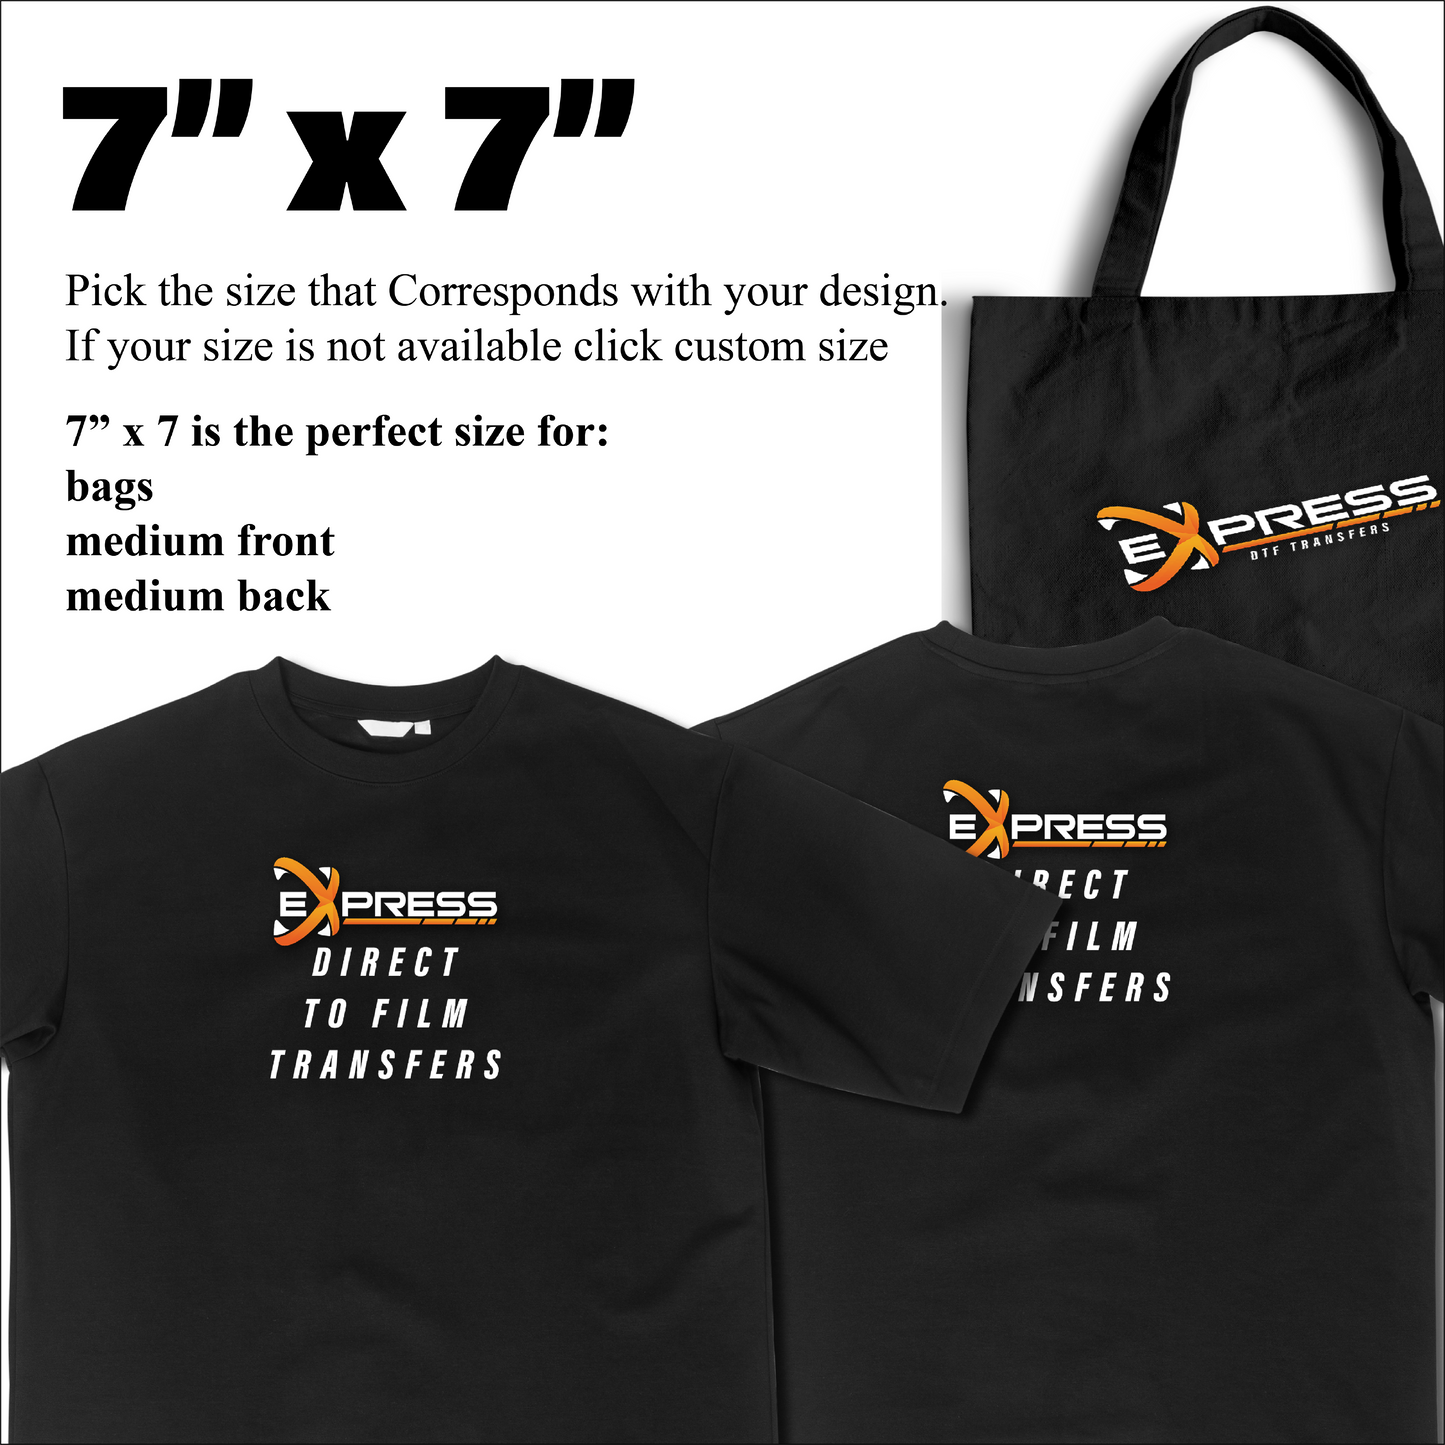
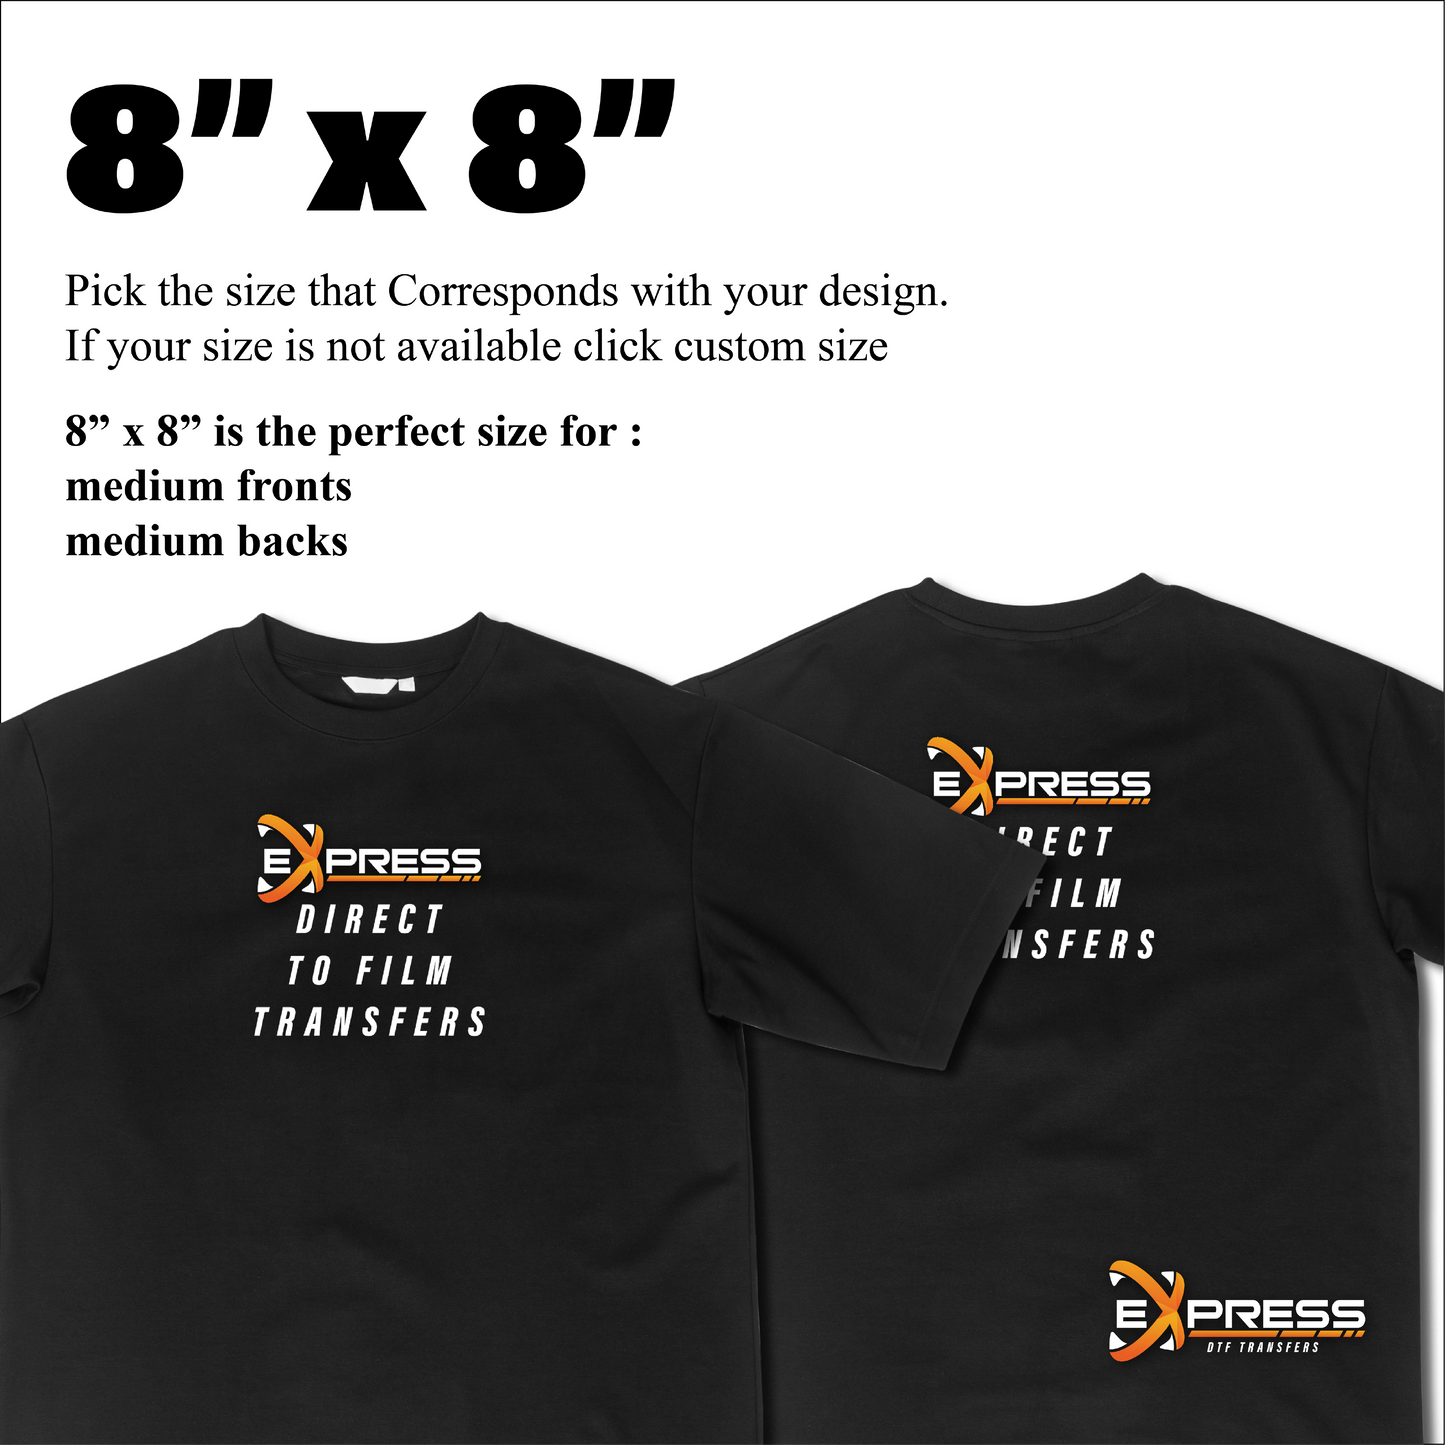
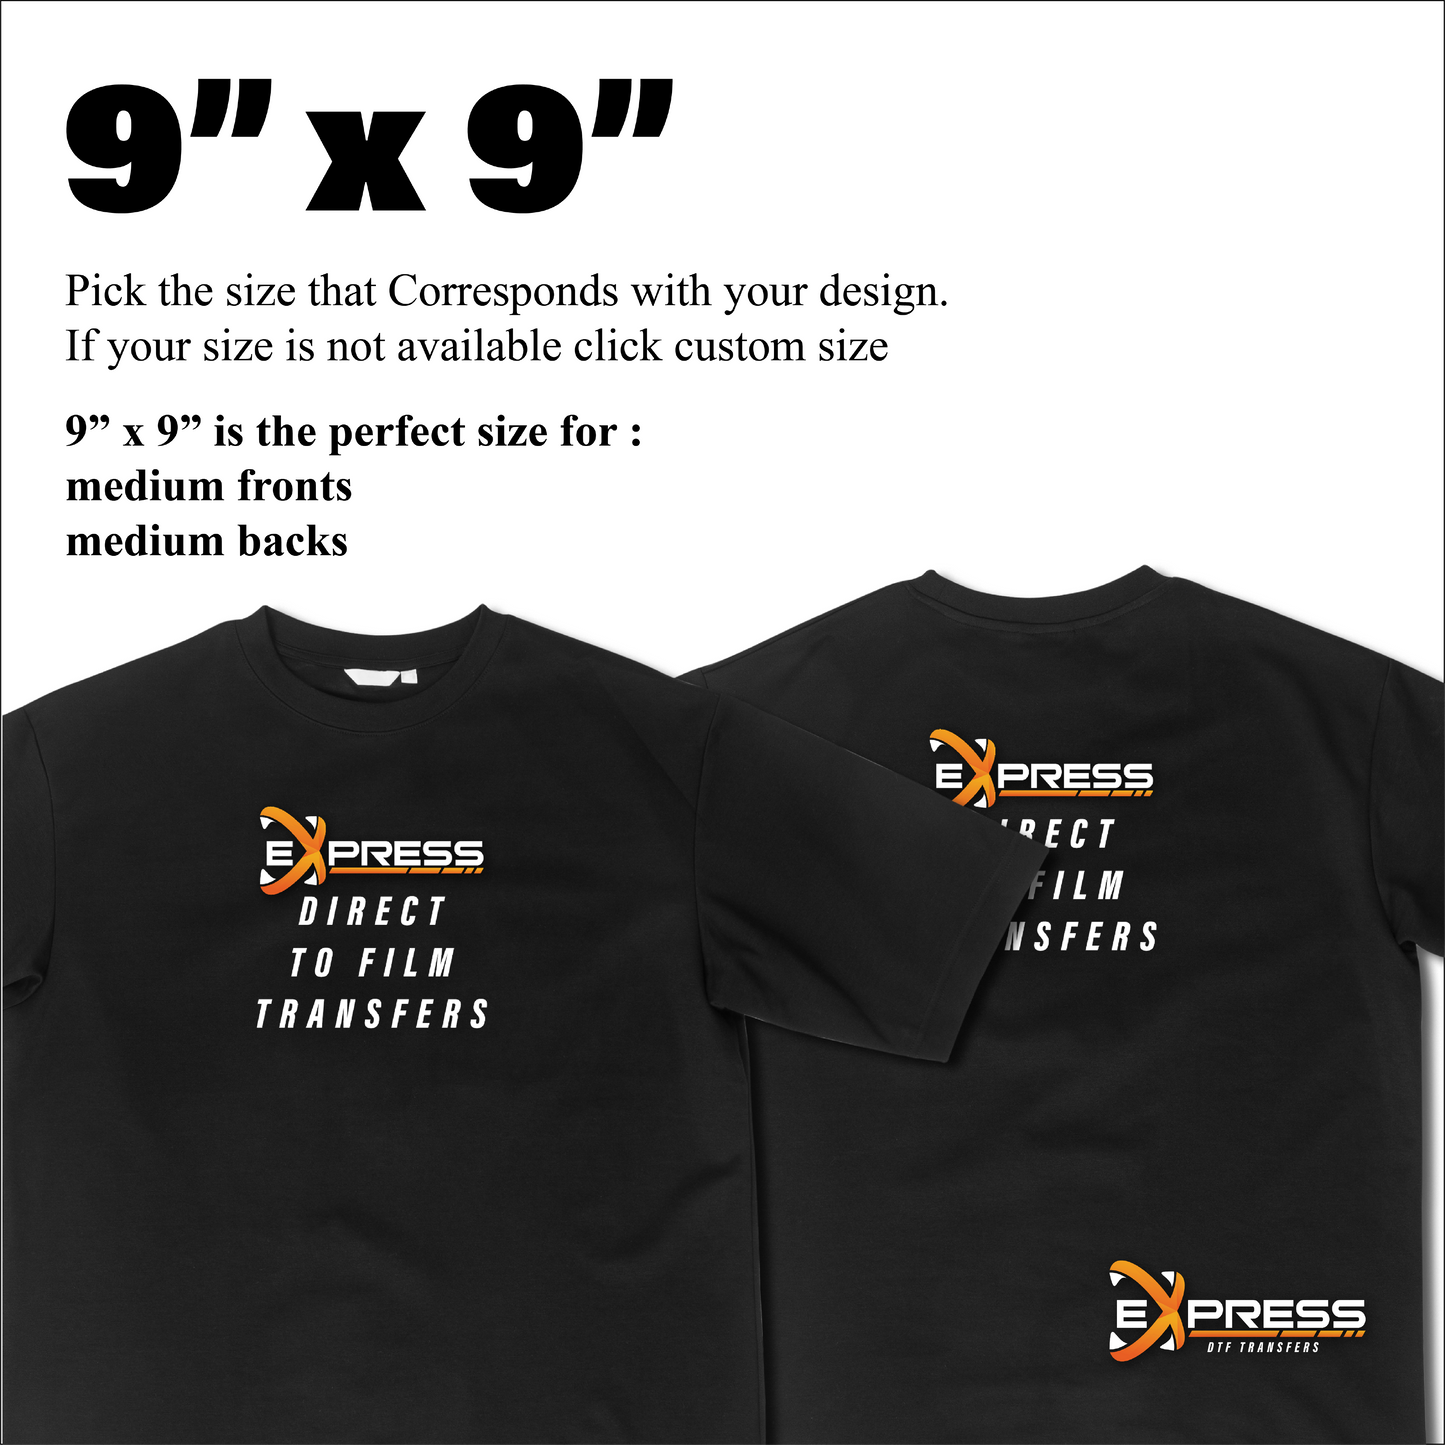
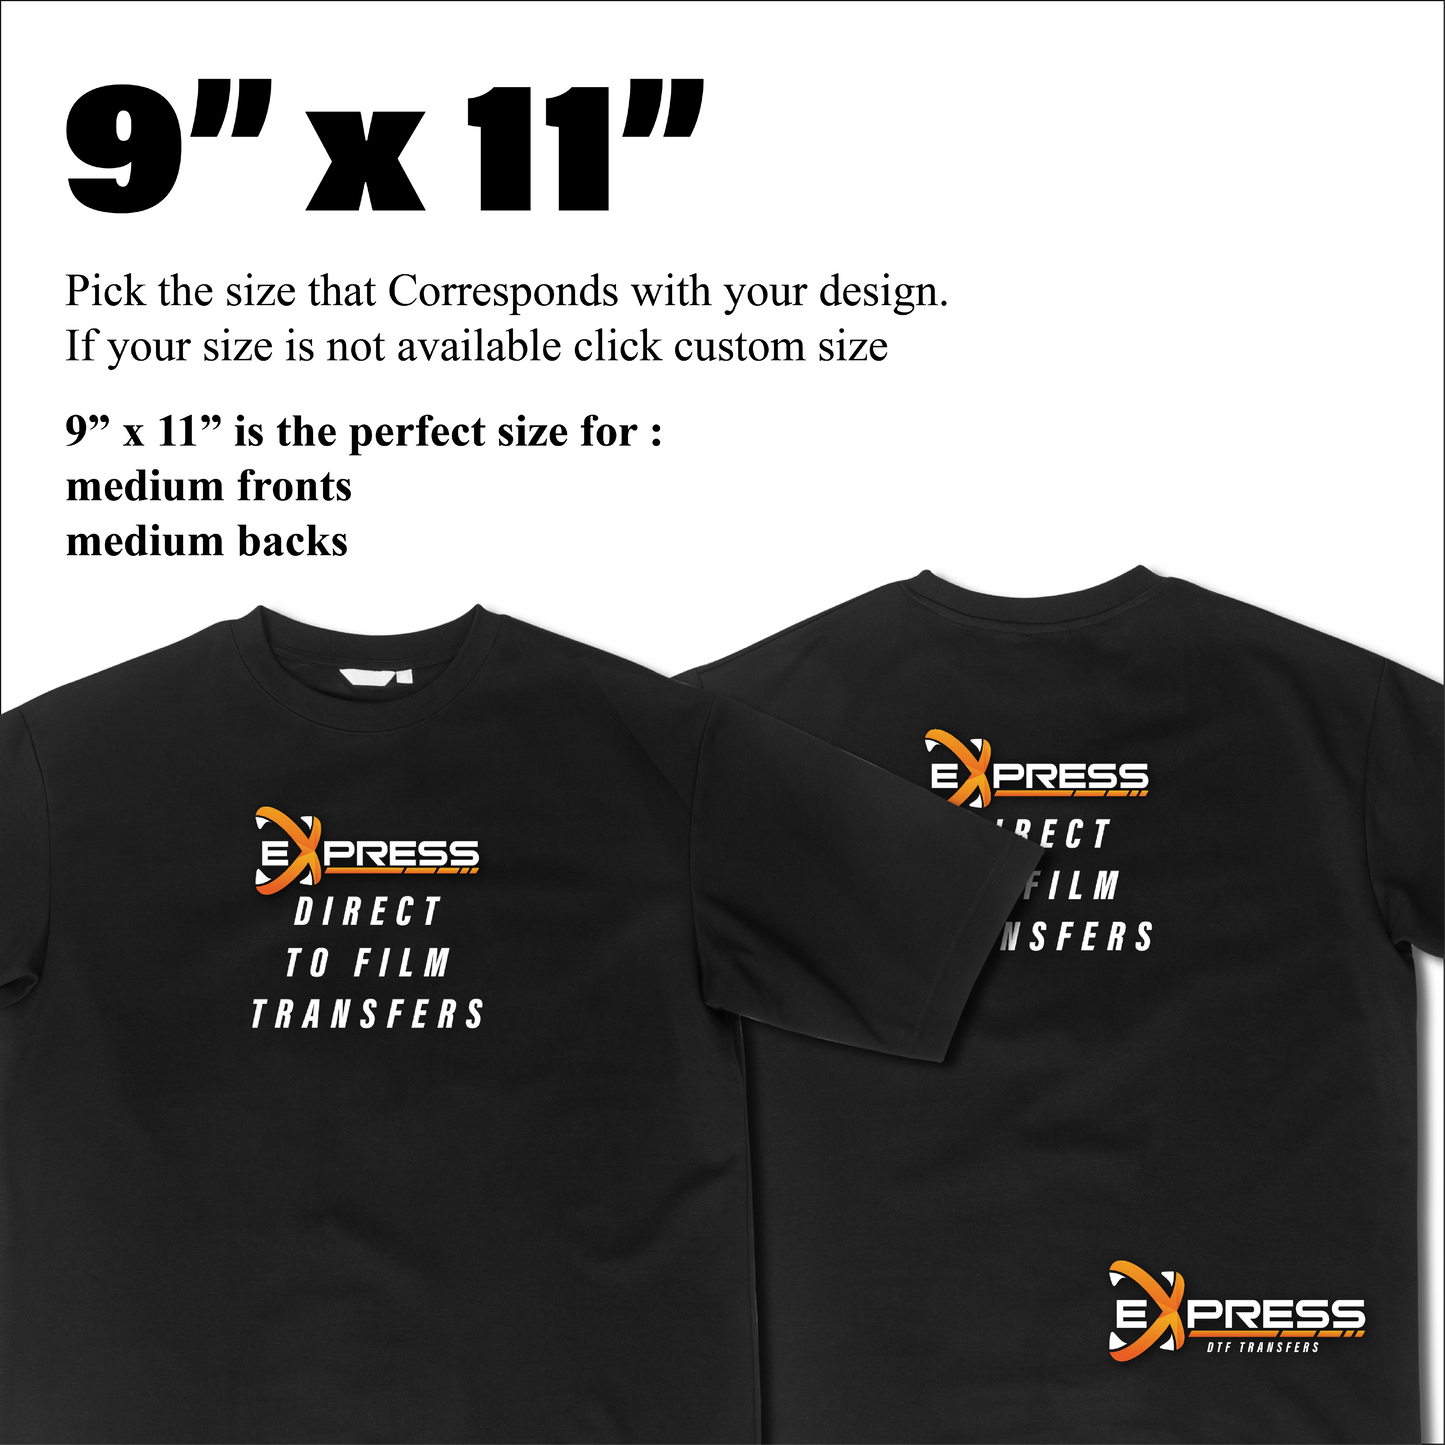
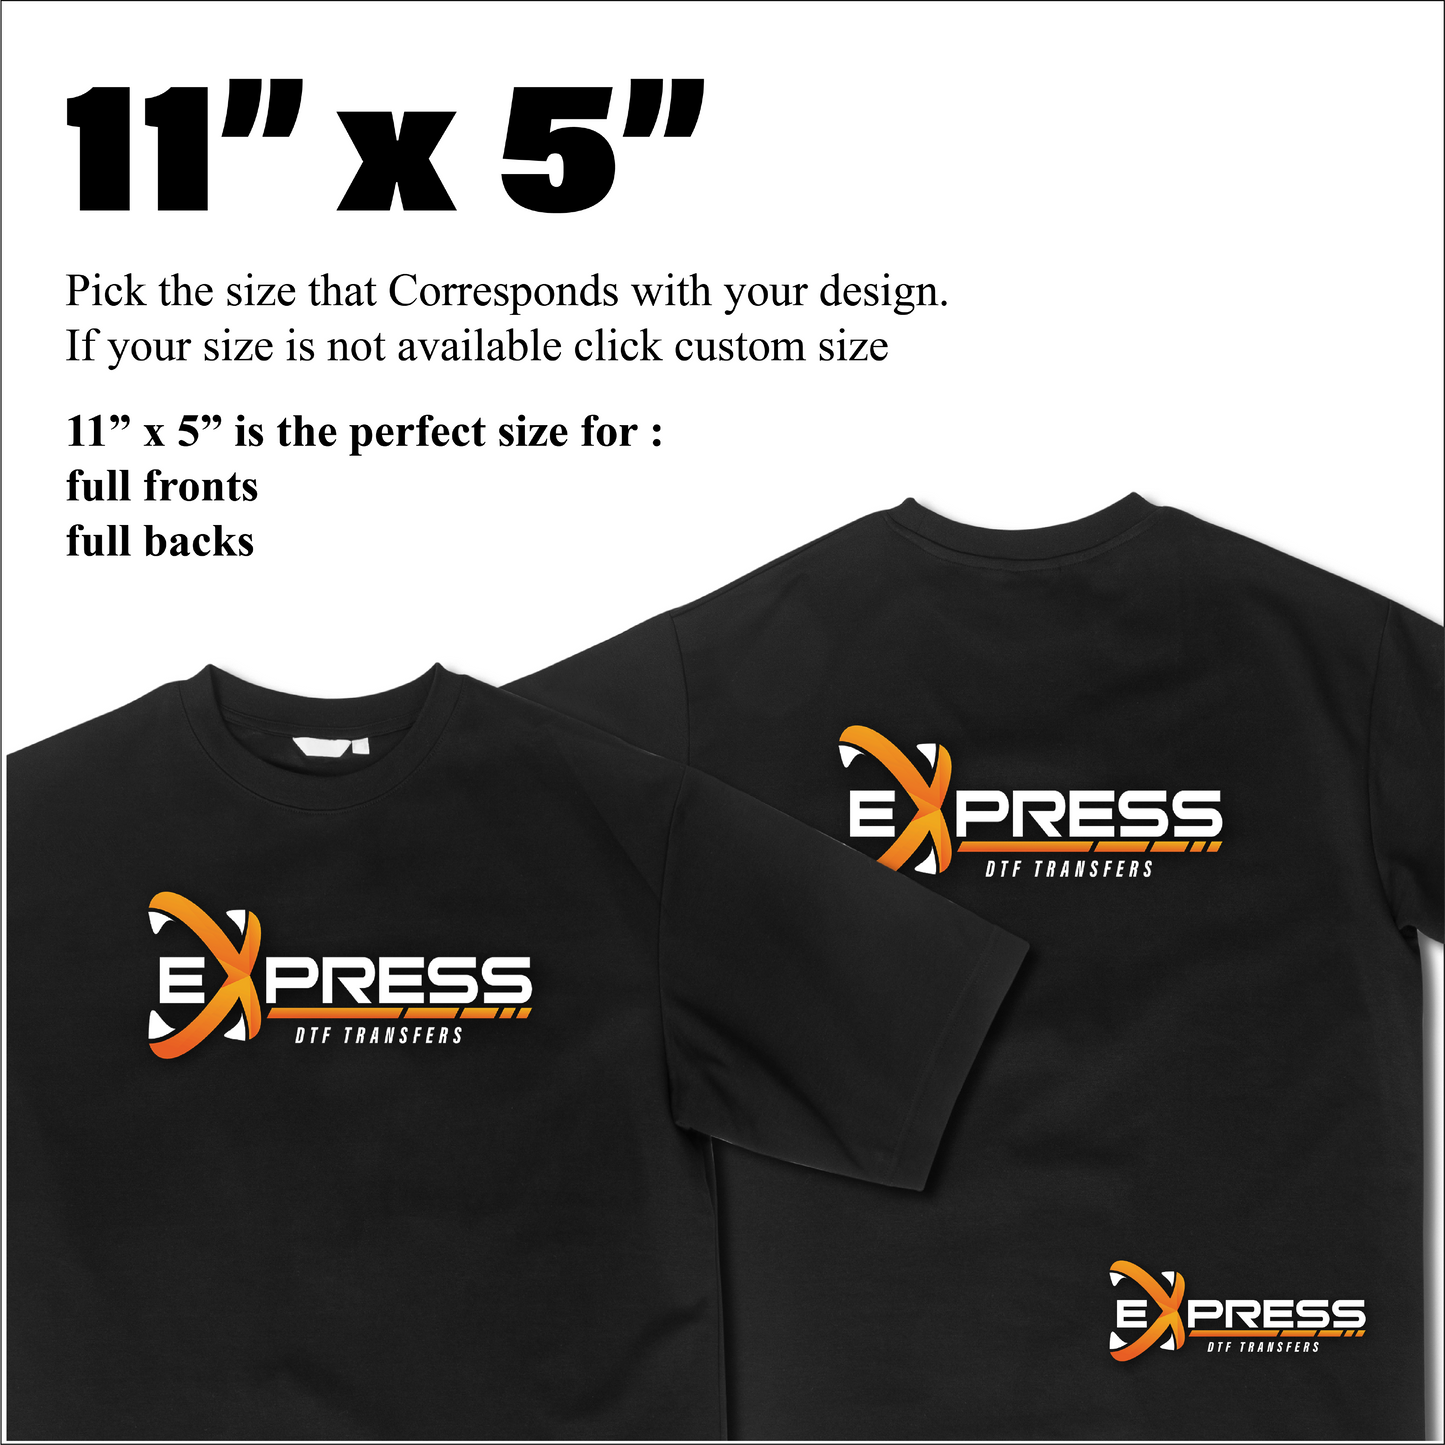
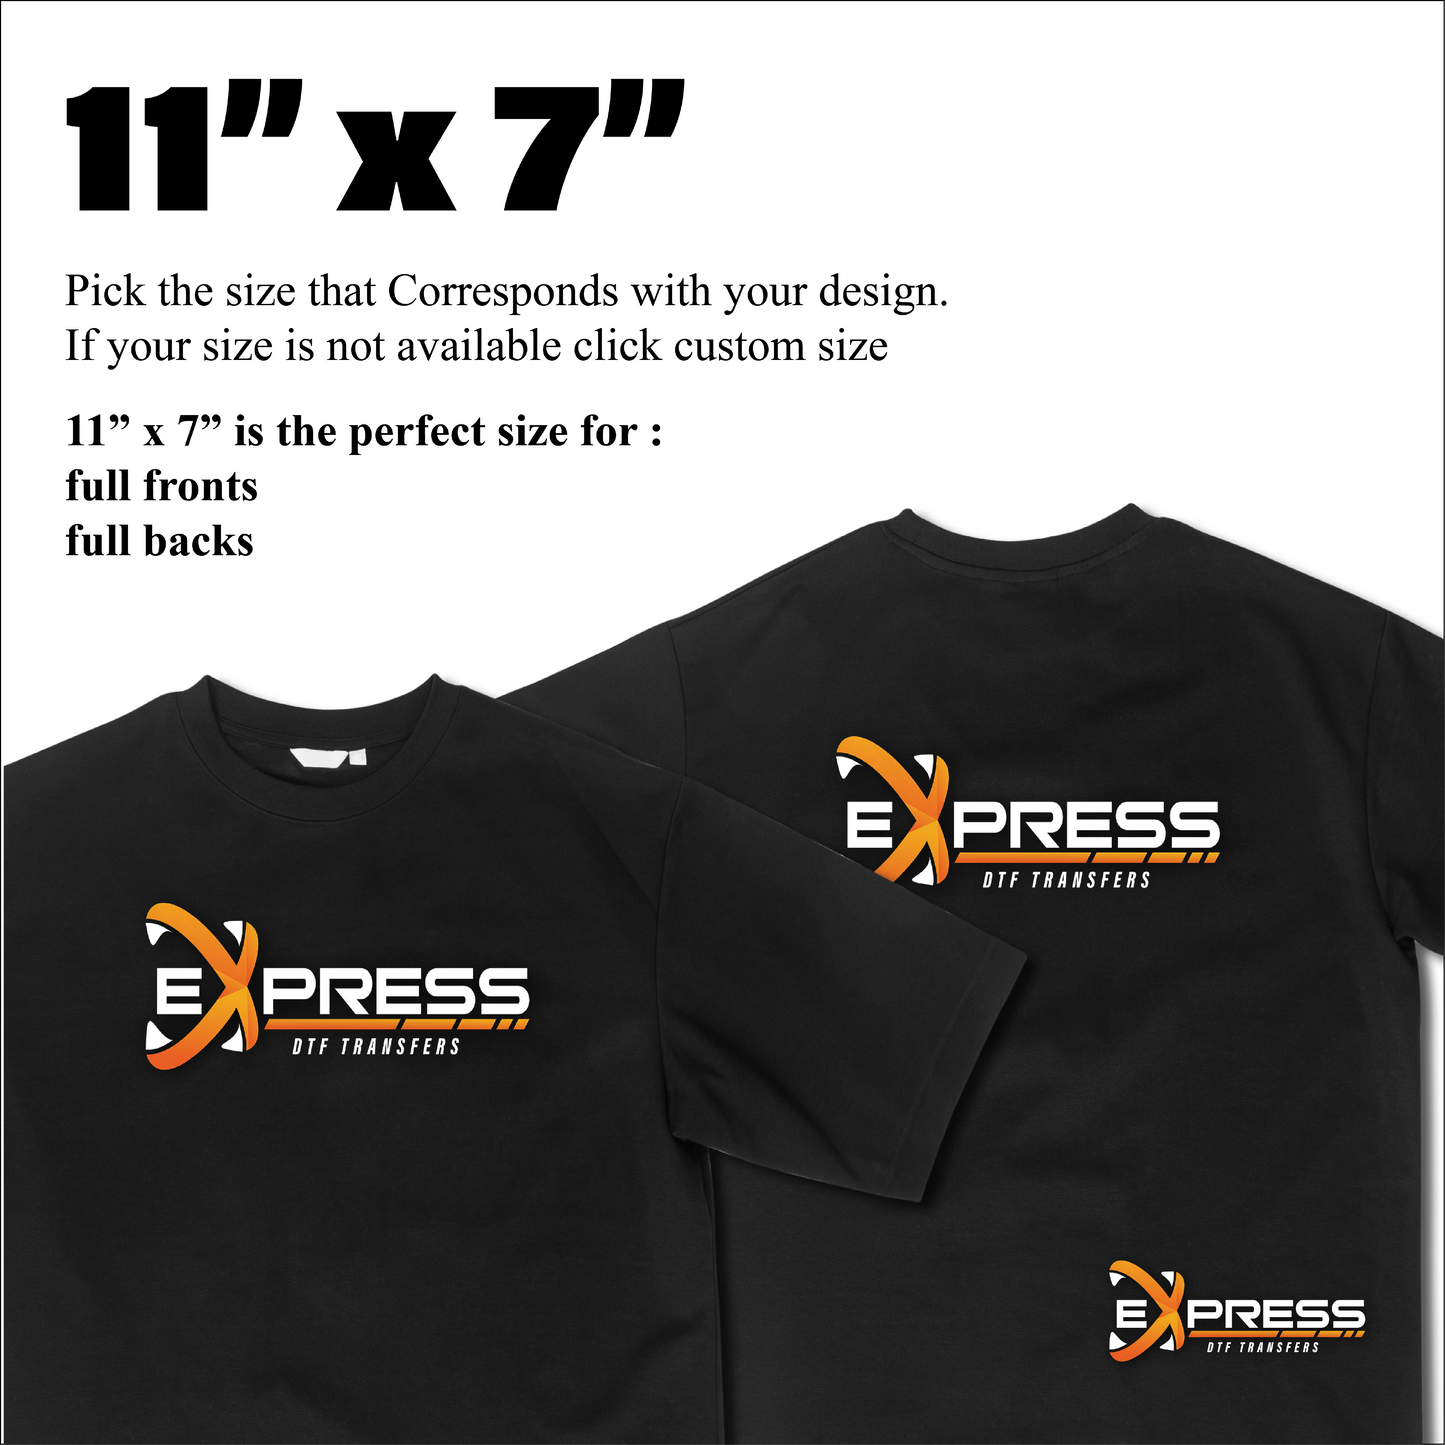
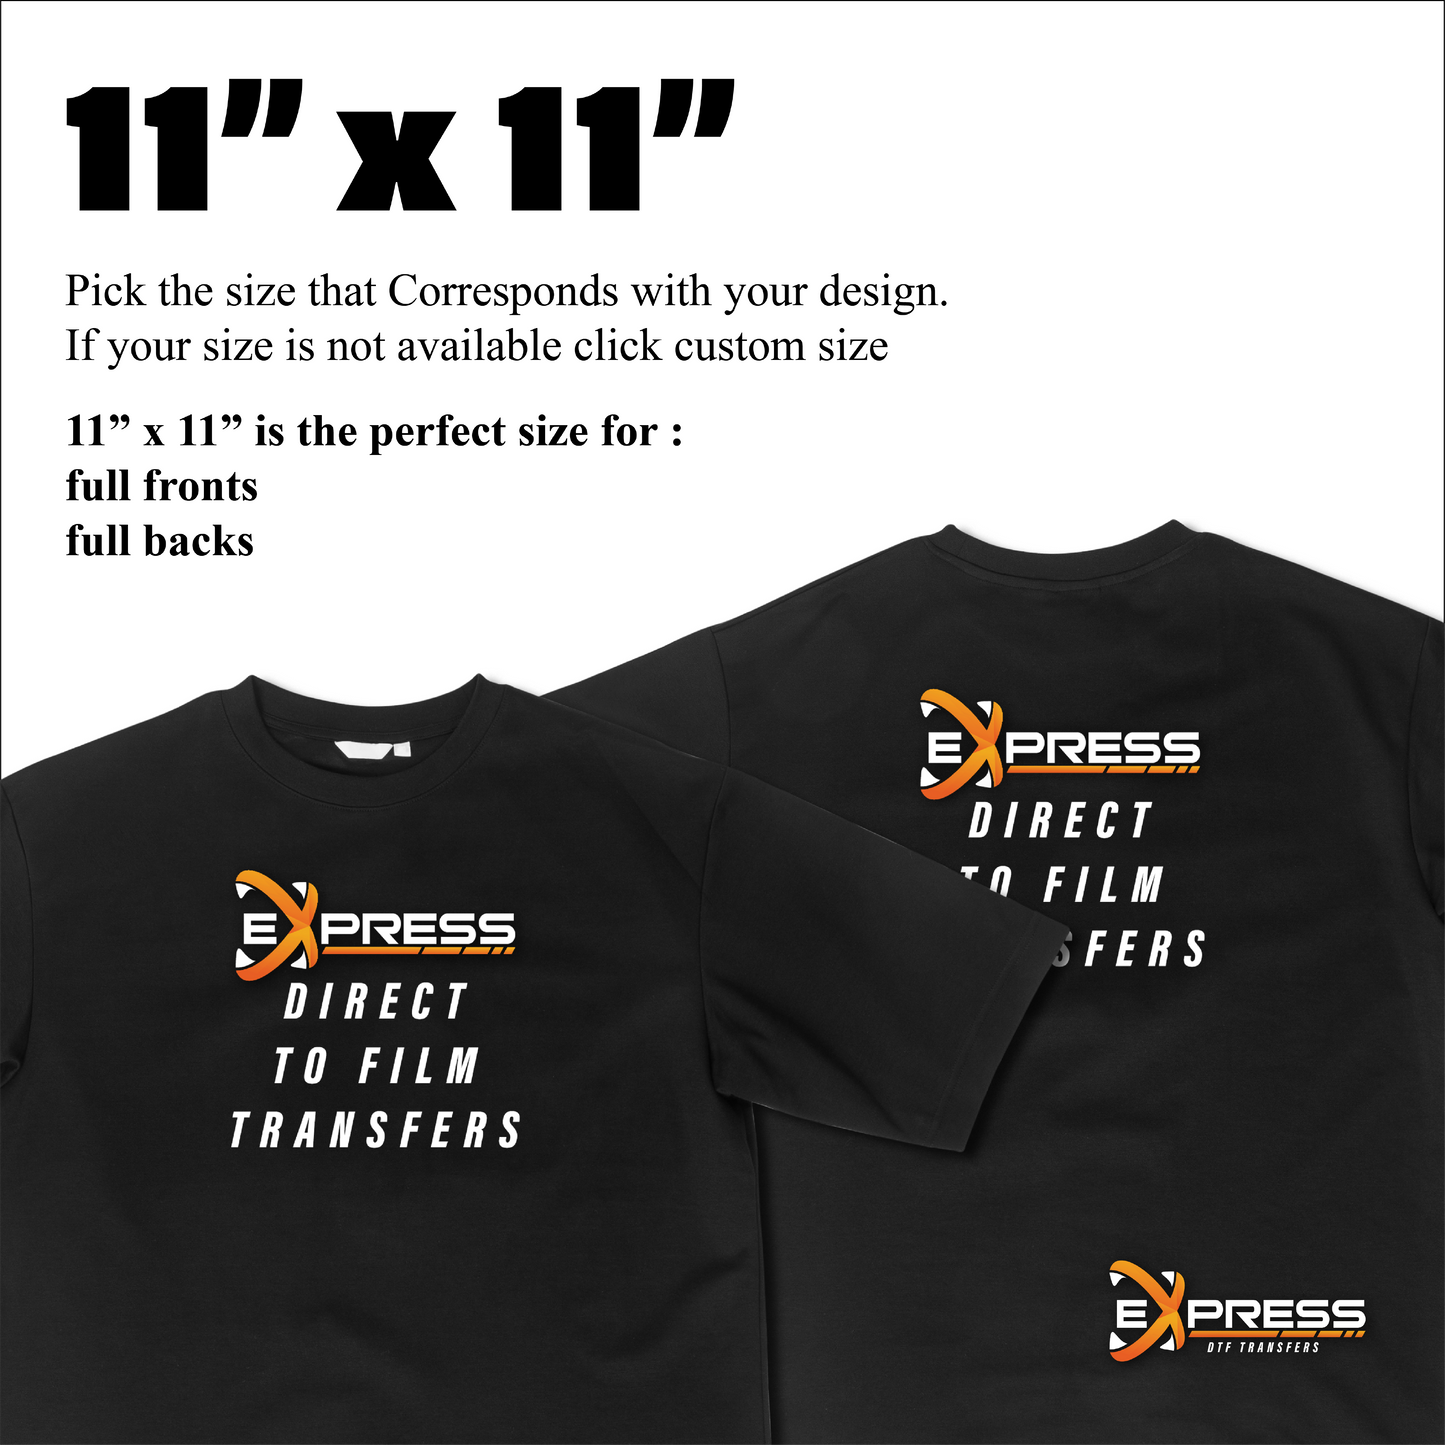
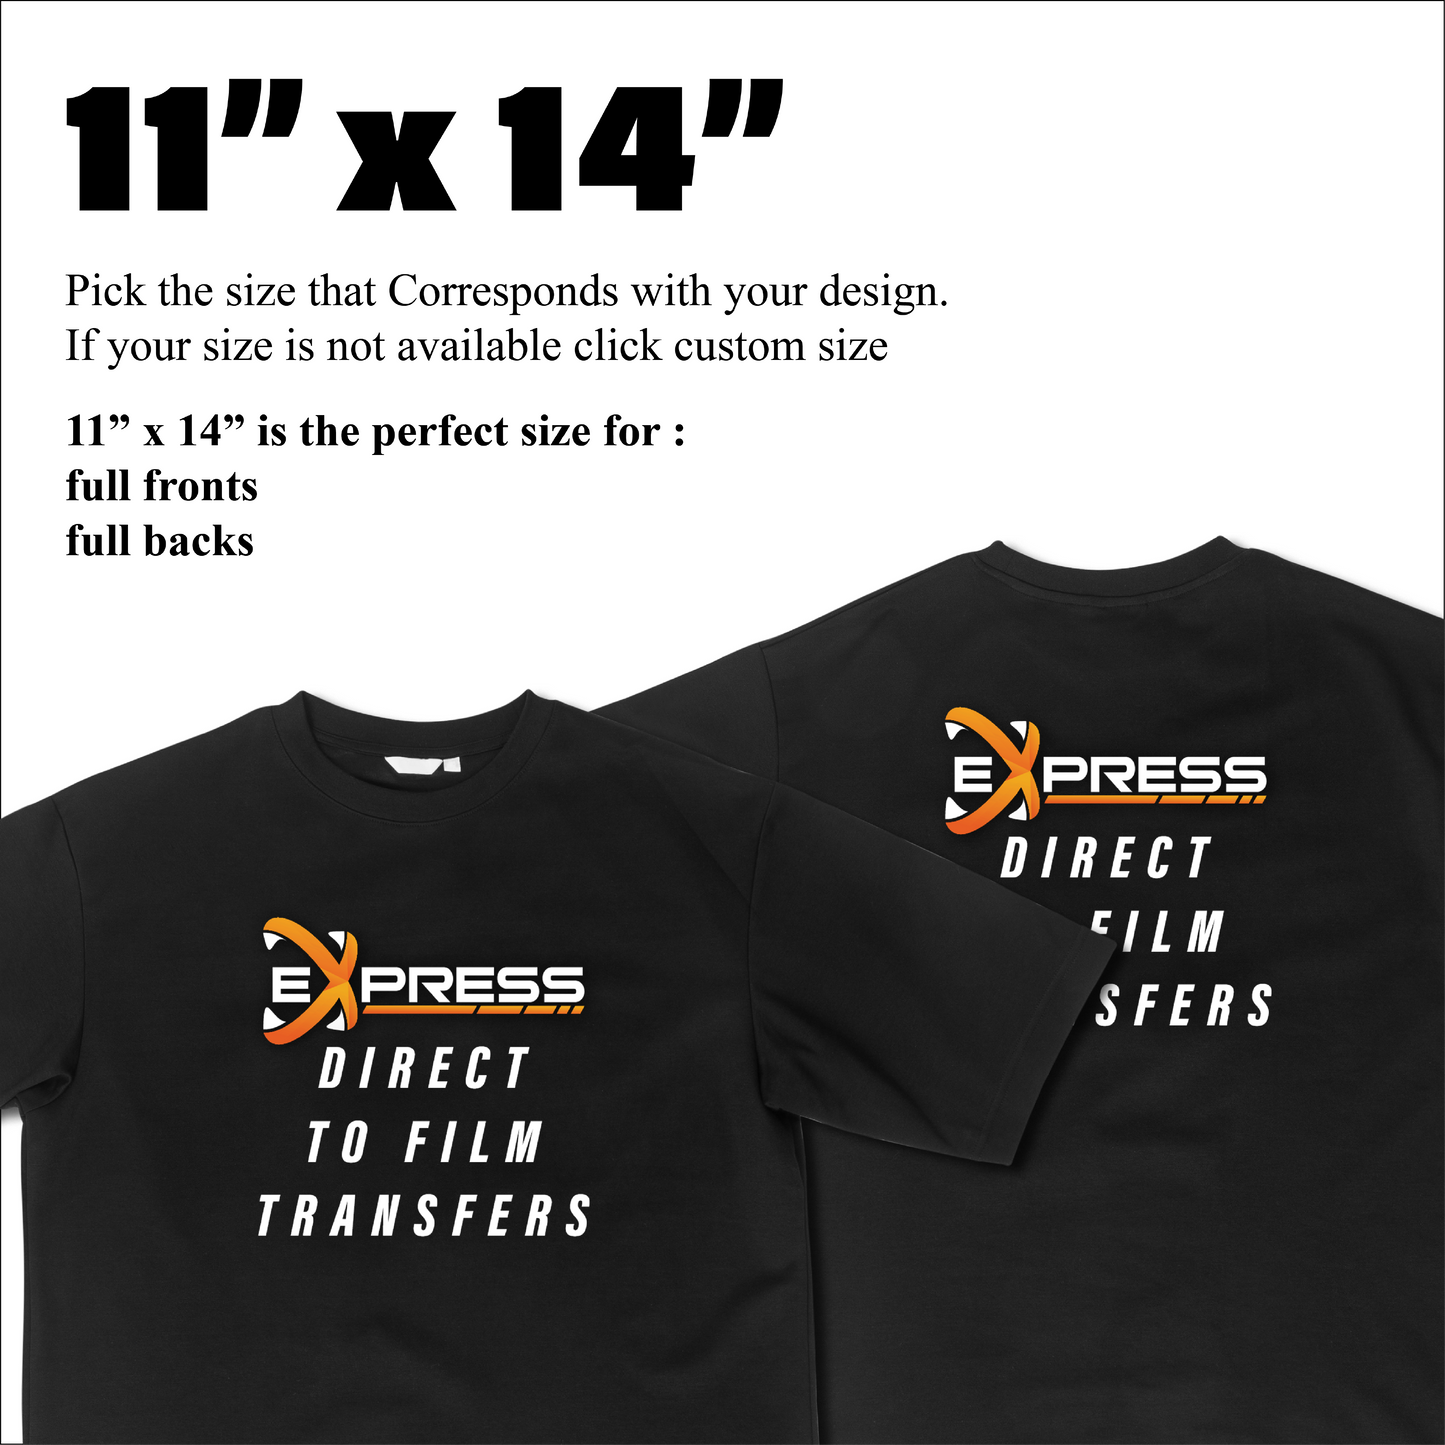
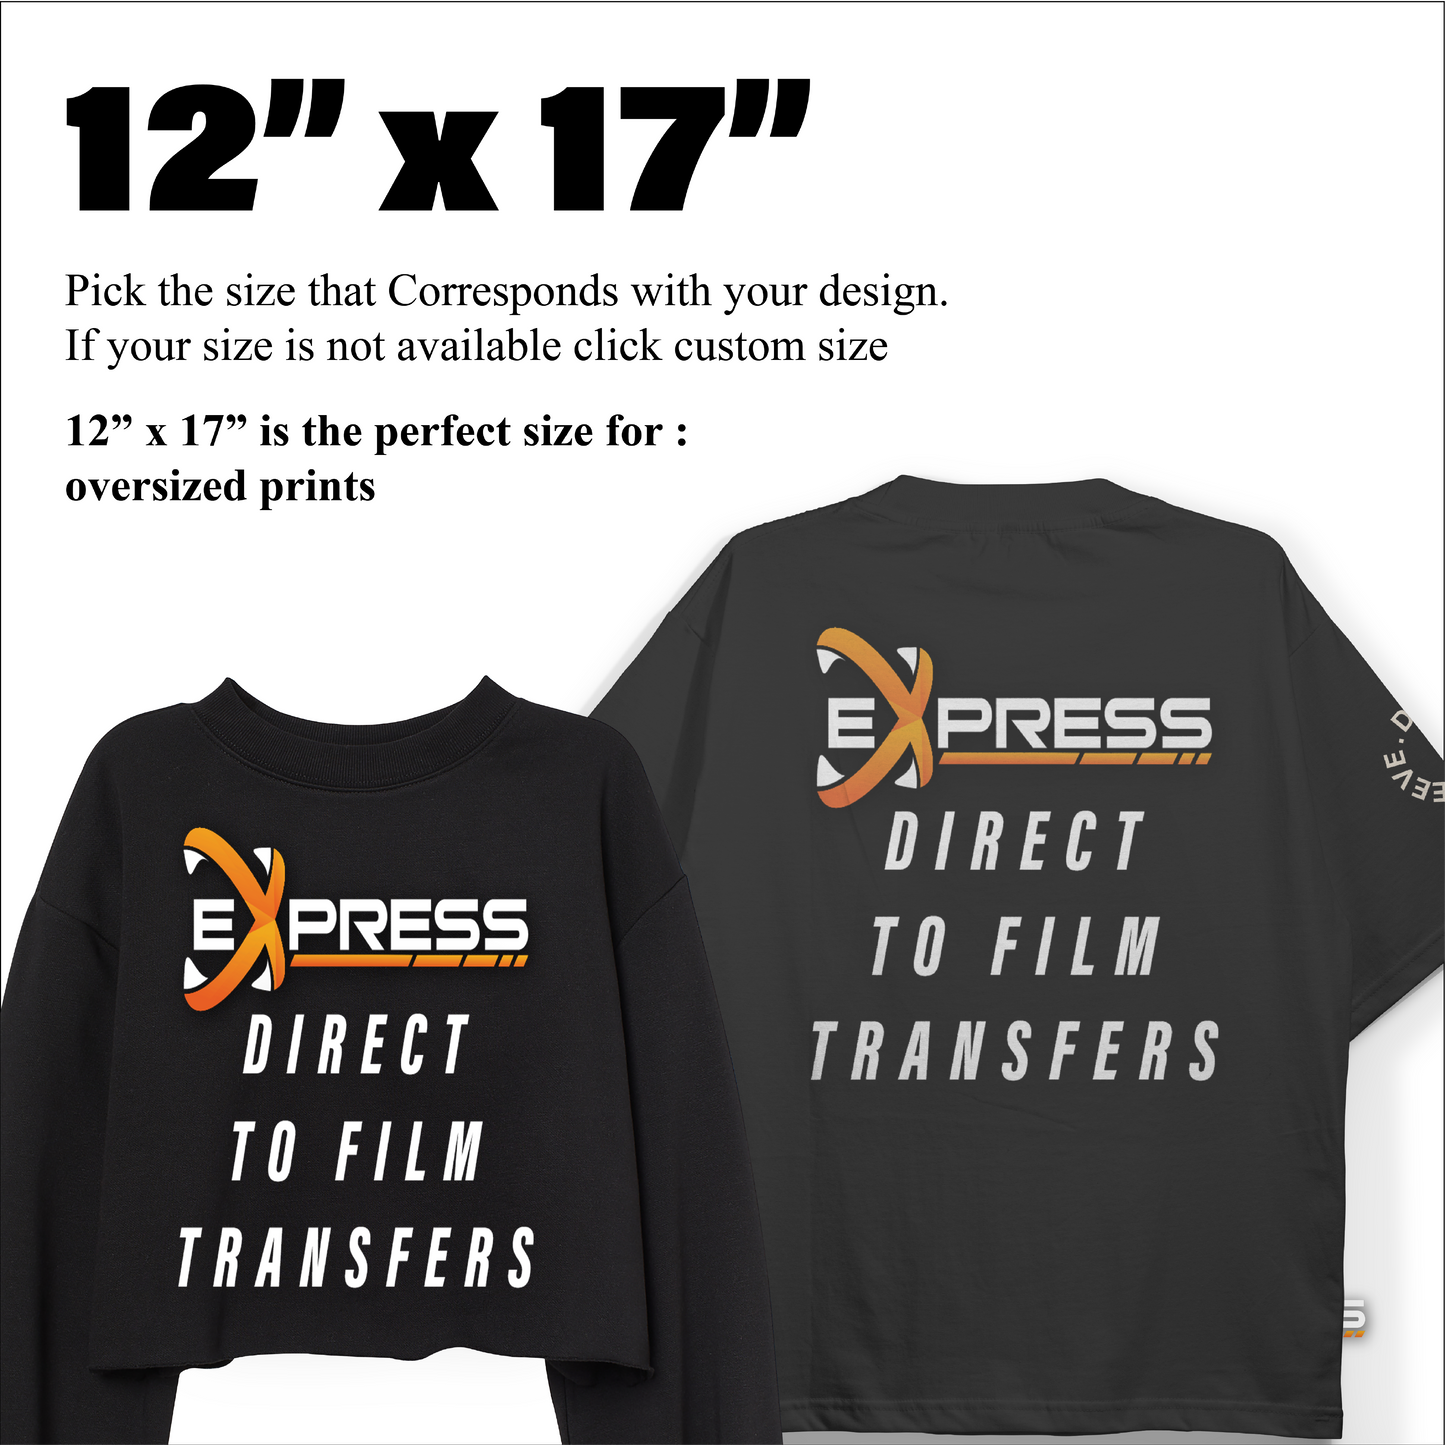
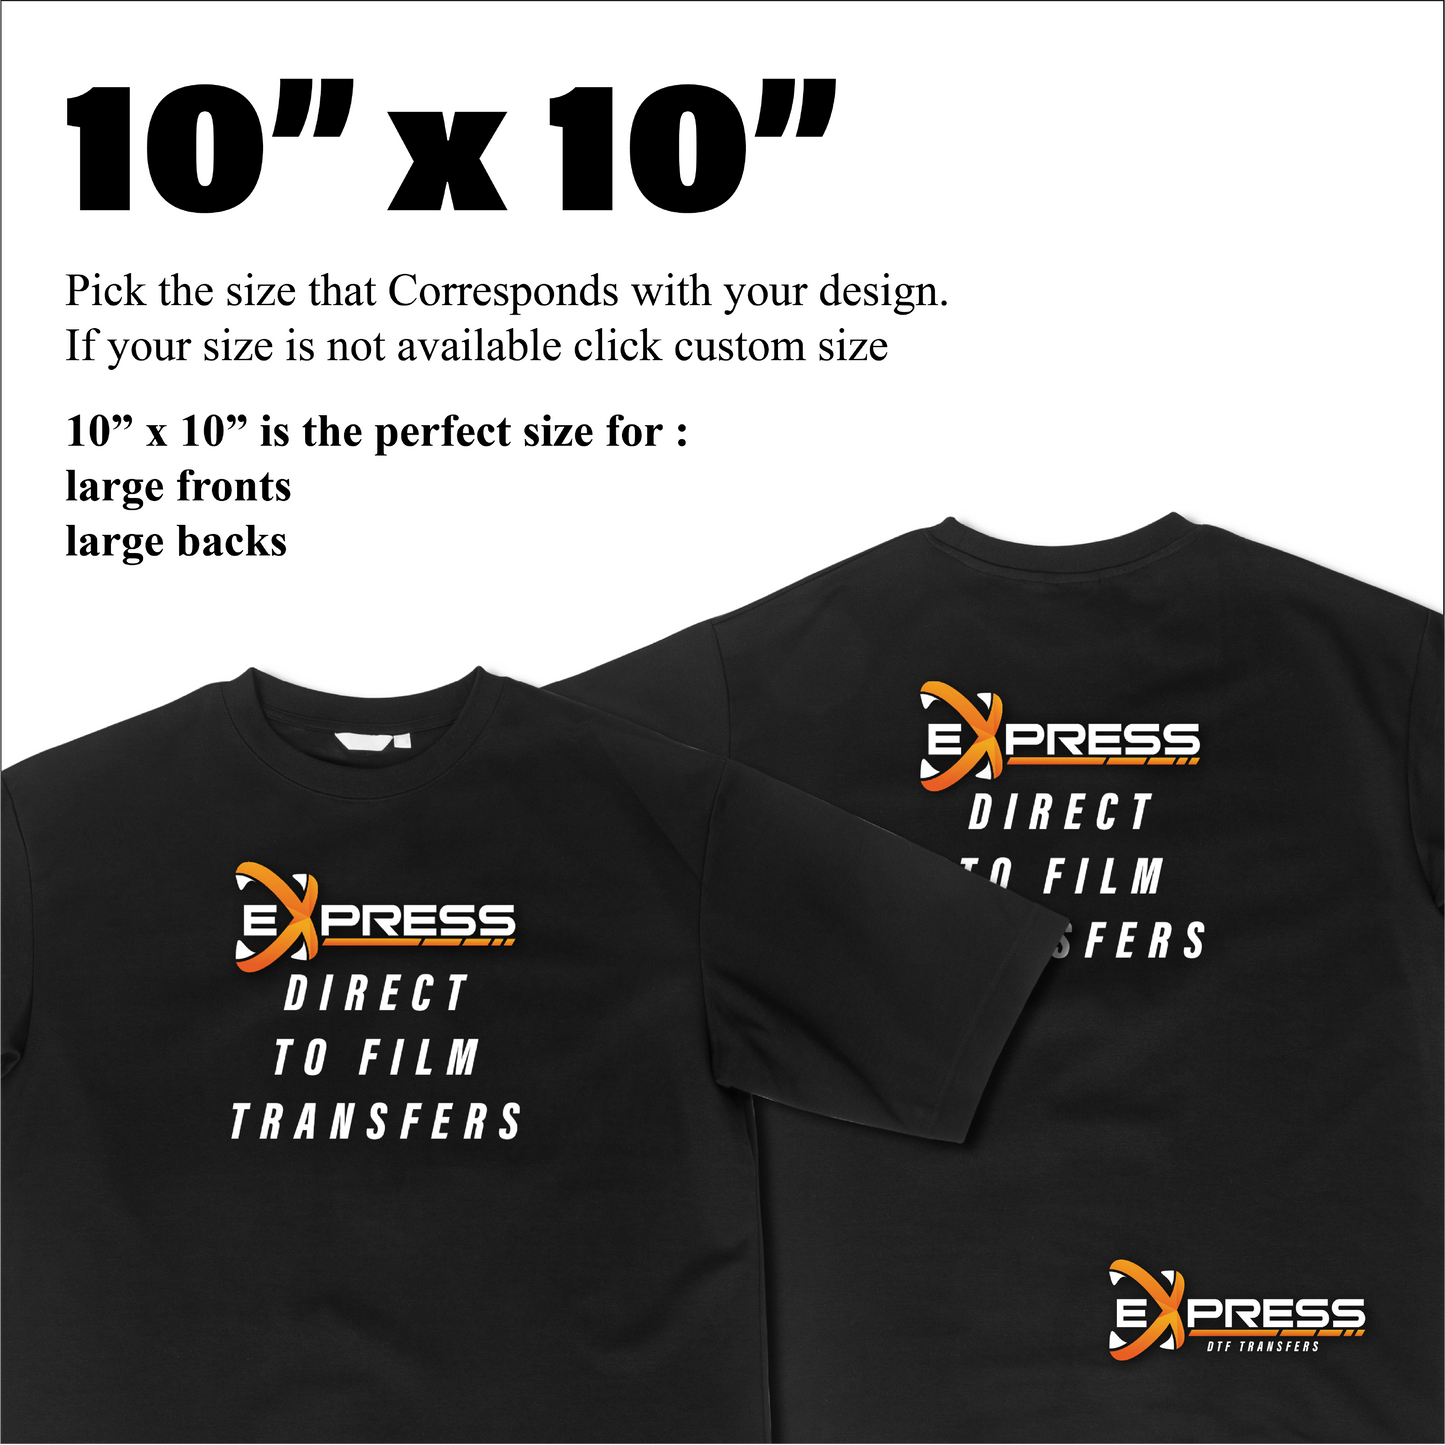
Tired of weeding vinyl? Well our Direct To Film transfers are the perfect solution for creating custom apparel and crafts. Upload your custom artwork and let us take care of the rest. Our DTF transfers are ready to be applied using a heat source (heat press is optimal but it can be applied with Cricut Easy Press or iron as well.) DTF can be applied to any color material not just light polyester like sublimation. All transfers are high quality and will not fade or peel with proper care. Transfers are made to order and this listing does not include a shirt. Due to the nature of this product, it is non-returnable. For larger quantities consider using our gang sheet options. Check in pictures for our quick style guide if you need help determining sizes.
Benefits
Benefits
Versatility:
Can be applied to a wide range of fabrics and materials,
including cotton, polyester, blends, leather, and even non-textile surfaces.
Durability
Produces
high-quality, long-lasting prints that are resistant to washing, stretching,
and cracking.
Vibrant Colors
Offers excellent
color vibrancy and accuracy, including the ability to print white on dark
fabrics.
Soft Hand Feel
Results in a soft,
barely-there feel on the fabric, enhancing wearer comfort.
No Color Limitations:
Allows for printing full-color designs without restrictions,
including gradients and photorealistic images.
Cost-Effective for Small Runs
Enables economical
production of small batches or even single items, making it ideal for custom
orders and print-on-demand services.
How to get Professional Results
How to get Professional Results
Follow these five steps to ensure your Direct-to-Film (DTF)
transfers look professionally pressed every time.
1.Preparation
Pre-pressing or pre-ironing is typically unnecessary.
Only remove moisture if you specifically desire to do so.
2. Design Positioning
Carefully align your transfer on the item.
For flat heat presses, heat-resistant tape is usually not
required.
Use heat-resistant tape for hat applications or when using
an iron.
For precise placement, consider using a DTF Alignment Ruler
Set.
3. Pressing Process
Apply medium pressure at 310°F (155°C) for 15 seconds.
Note: Excess heat, pressure, or time won't damage the
transfer but may affect the garment.
Always test first and use parchment paper or a protective
guard sheet with direct iron application.
4. Cooling and Peeling
Allow the transfer to cool until it's comfortable to touch
(15-30 seconds minimum).
Optional: Use a Fast Cool Peel Air Transfer Blower to
accelerate cooling.
Gently peel back from one corner, using your eyes to ensure
full adhesion.
Troubleshooting
If the design doesn't transfer completely:
Reapply the transfer and press again with increased pressure
and time (+5-10 seconds).
If unsuccessful, incrementally increase heat by 15°F until
you achieve the desired result.
Multiple pressings won't damage the transfer.
5. Finishing Touches
Cover the design with parchment paper or a single layer of
t-shirt material.
Press again for 15 seconds to enhance durability, soften the
design, and remove shine.
For a glossy finish,
use a protective guard sheet during the final press.
Artwork Requirements
Artwork Requirements
To ensure the best quality
prints for your DTF (Direct-to-Film) transfers, please follow these artwork
requirements:
File
Formats
- Preferred formats: AI, EPS, PDF, PSD, PNG (300 DPI minimum)
Color
Mode
- Use CMYK color mode for best color accuracy
- RGB files will be converted to CMYK, which may cause slight color shifts
Resolution
- Minimum 300 DPI for best quality
- For larger prints, 150 DPI may be acceptable
Artwork
Size
- Provide artwork at actual print size or larger
- Include bleed of 1/8 inch (3mm) on all sides for edge-to-edge printing
Fonts
- Convert all text to outlines/paths
- If editable text is needed, include all fonts used in the design
Line
Thickness
- Minimum line thickness: 0.5pt for positive lines
- Minimum line thickness: 1pt for reverse (knockout) lines
Gradients
and Transparencies
-Use gradients with caution, as they may not print smoothly in some areas
- Gradients need to be designed with "Halftoning" in order to create
a proper fade out gradient effect.
Image
Tracing
- For best results with photos or complex images, use image tracing in vector
software
- Ensure traced images maintain detail and smooth edges
Special
Effects
- Avoid using effects like drop shadows or glows directly in the artwork
- If needed, these effects should be "Halftoned" to ensure that they
fade properly in design.
Color
Matching
- Provide Pantone color codes for specific color matching needs
- Be aware that exact color matching may not always be possible due to the CMYK
printing process
File Preparation
- Keep all important design elements at least 1/4 inch (6mm) from the edge of
the design
- Group all elements of the design together
- Remove any hidden layers or unused elements from the file
Proofing
- Always review a digital proof before approving for production
- Check for color accuracy, sizing, and placement
By following these guidelines, you'll help ensure that your DTF transfers are
produced with the highest quality and accuracy. If you have any questions about
preparing your artwork, please don't hesitate to ask for assistance.
Care Instructions
Care Instructions
-Turn the garment inside out before washing.
-Wash in cold water.
-Dry on low heat or hang to dry.
